— Workshops
On Your Own
Ten self-paced lessons to sharpen your eye. Take them anywhere, at your own pace — then come back to the studio for the deeper craft.
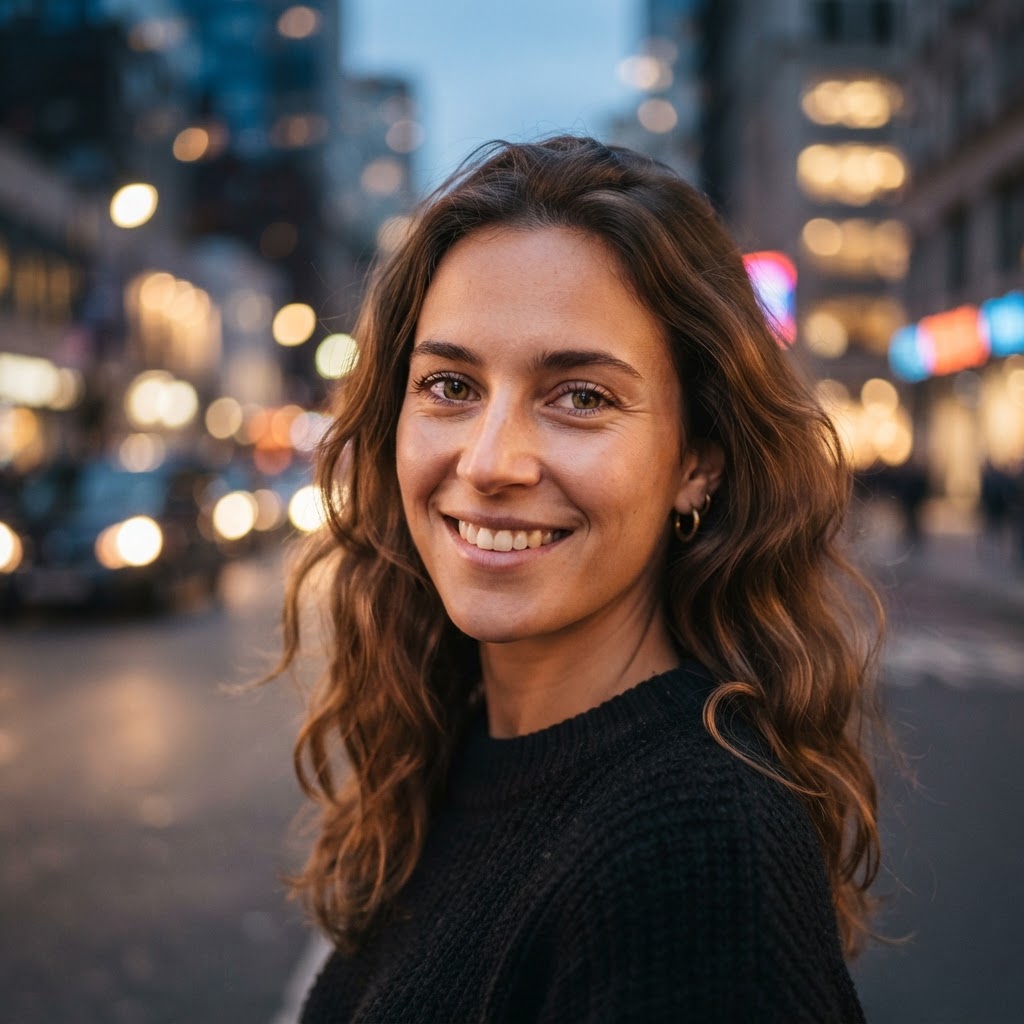
Portrait with Bokeh
Get close and separate your subject from the background. A wide aperture turns a busy scene into a soft wash of light behind your subject.
Aperture
f/1.8
Shutter
1/250s
ISO
Auto ISO
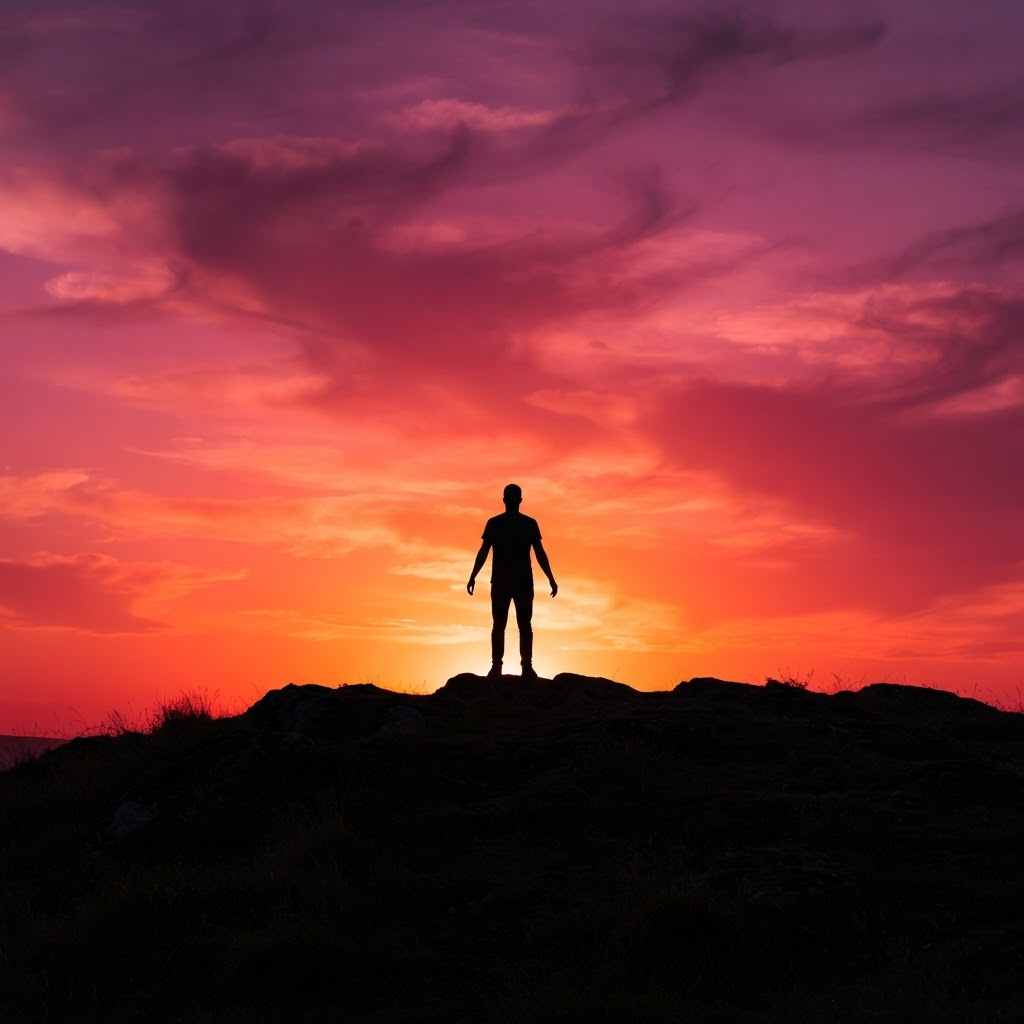
Silhouette
Expose for the bright sky behind your subject and let them fall to pure black. The strongest silhouettes come from clean, recognizable shapes.
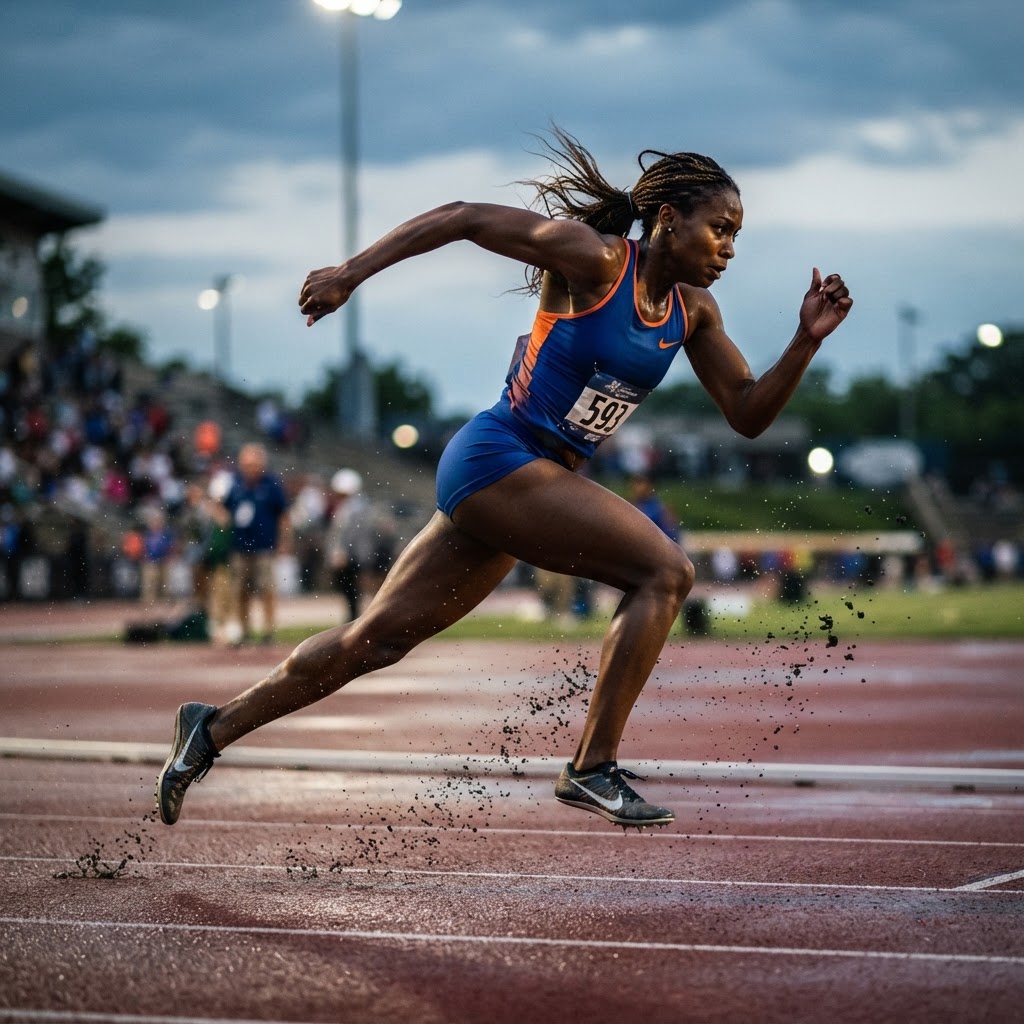
Freeze Action
Use a fast shutter to stop motion mid-stride. The faster the subject, the faster the shutter you need.
Shutter
1/1000s+
Perfect For
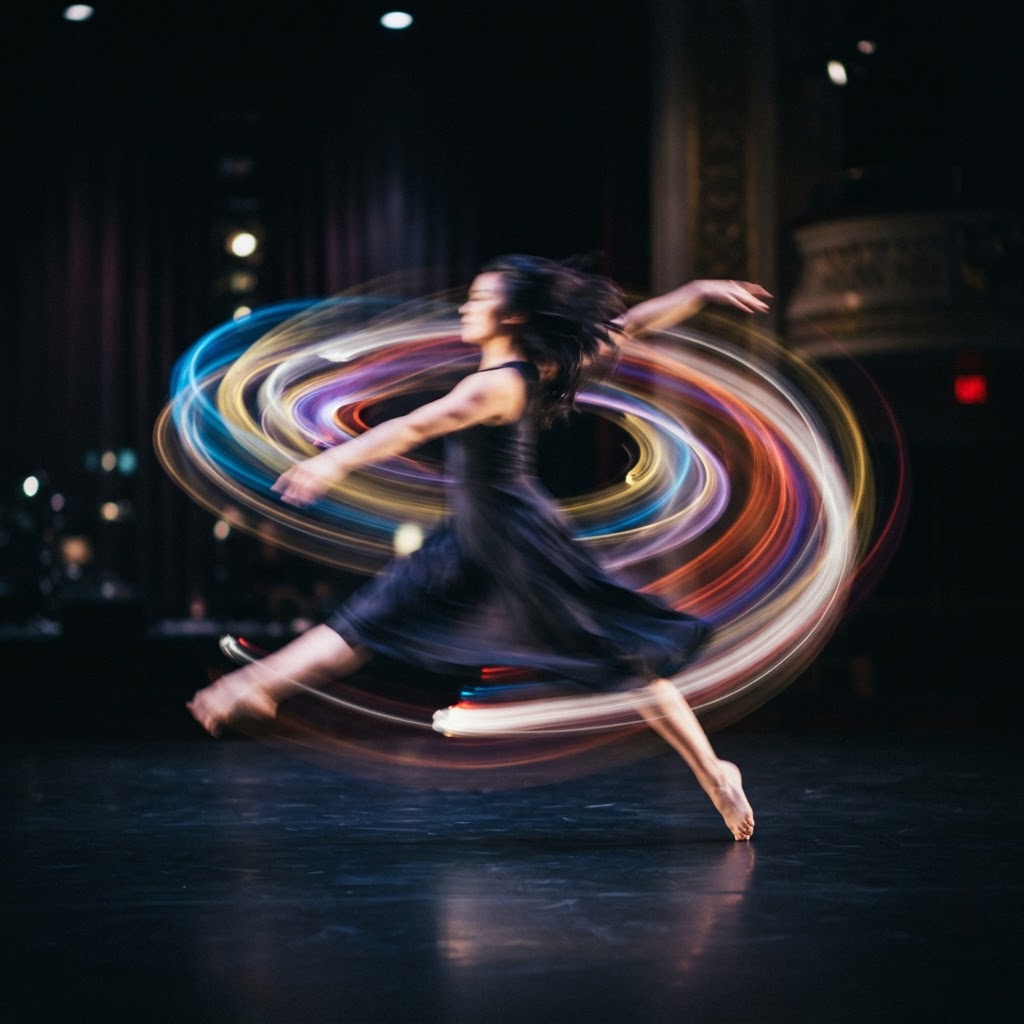
Motion Blur
Keep the camera steady while allowing movement to blur. A slower shutter renders motion as elegant streaks of light and color.
Shutter
1/10–1/30s
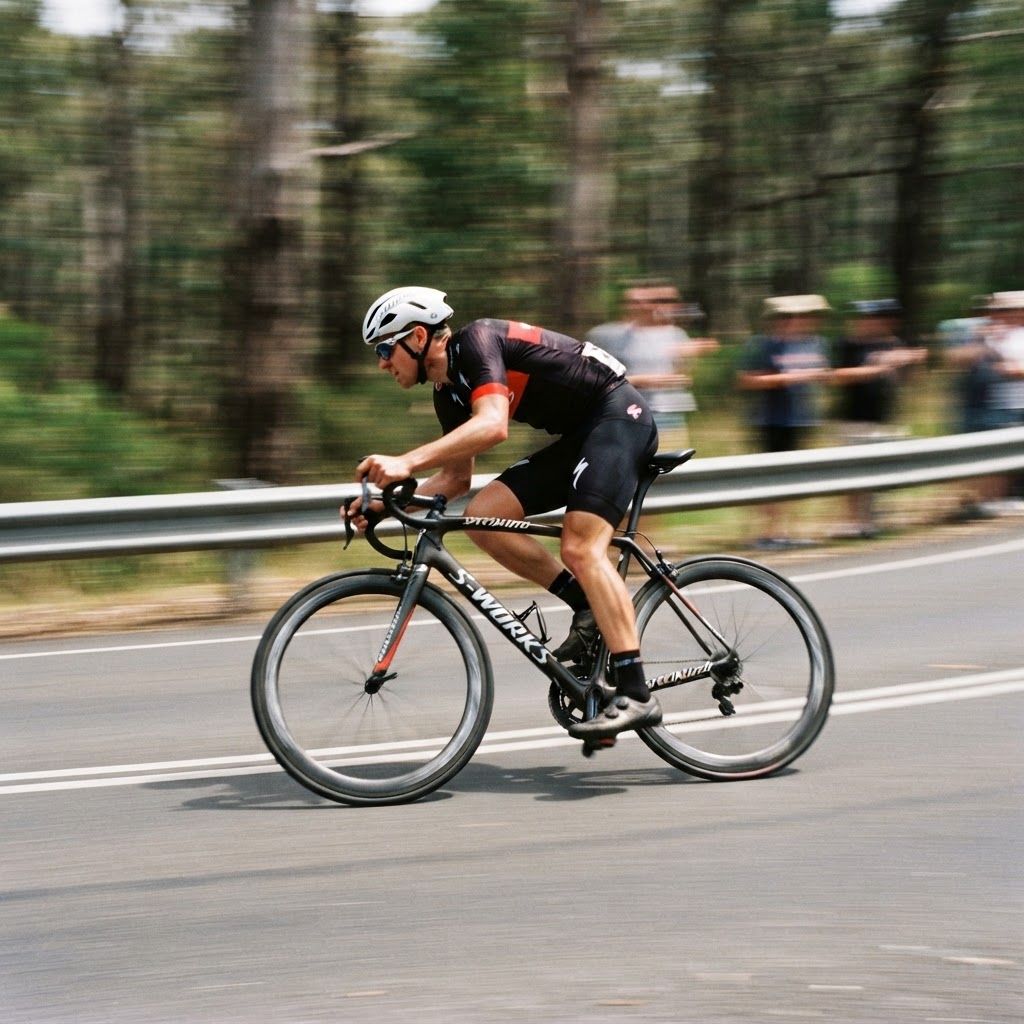
Panning Shot
Track your moving subject with the camera while firing. The subject stays sharp while the background streaks with motion.
Shutter
1/30–1/125s
Result
Subject sharp / Background motion
- •Follow your subject smoothly
- •Use continuous AF
- •Try burst mode
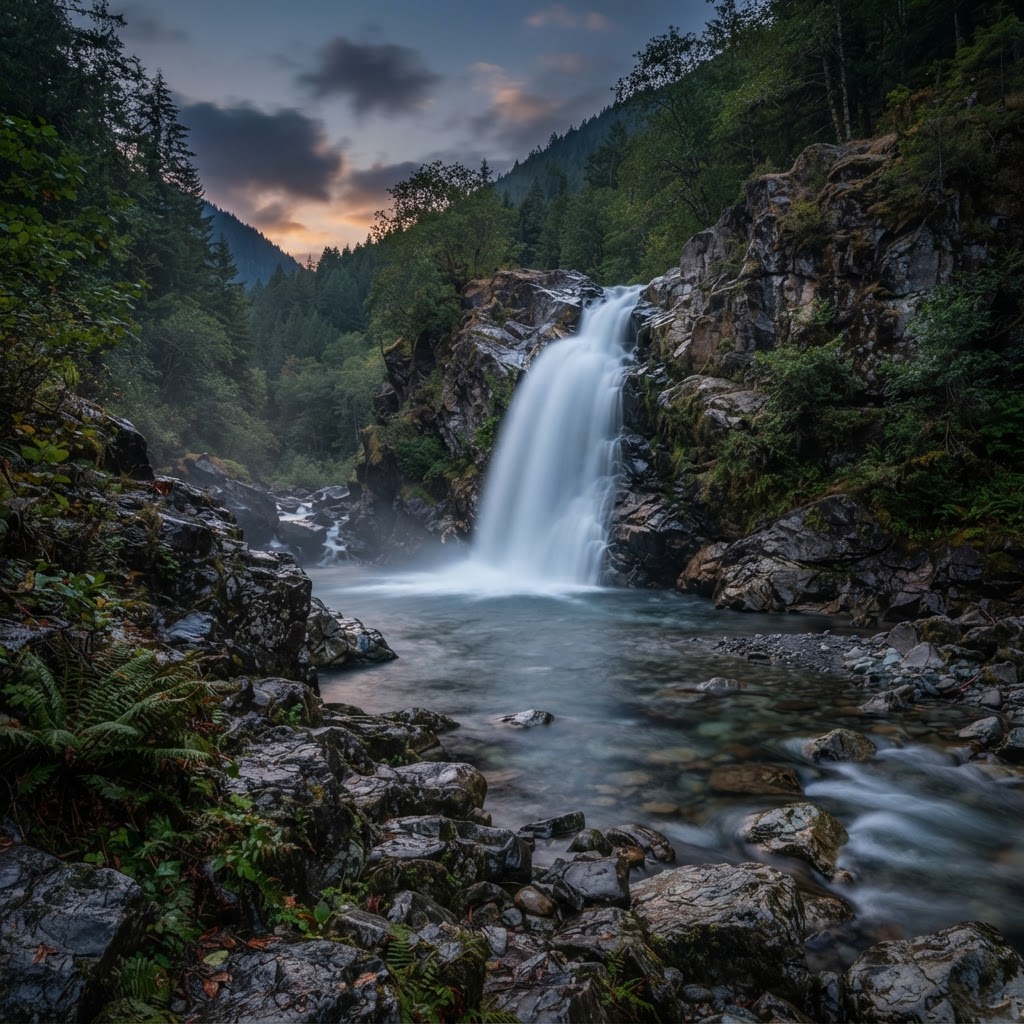
Long Exposure
Mount the camera on a tripod and open the shutter for several seconds. Moving water, traffic, and clouds turn to silk and light trails.
Setup
Tripod + slow shutter
Perfect For
- •Use a tripod
- •Use an ND filter in bright light
- •Try 2–30s exposures
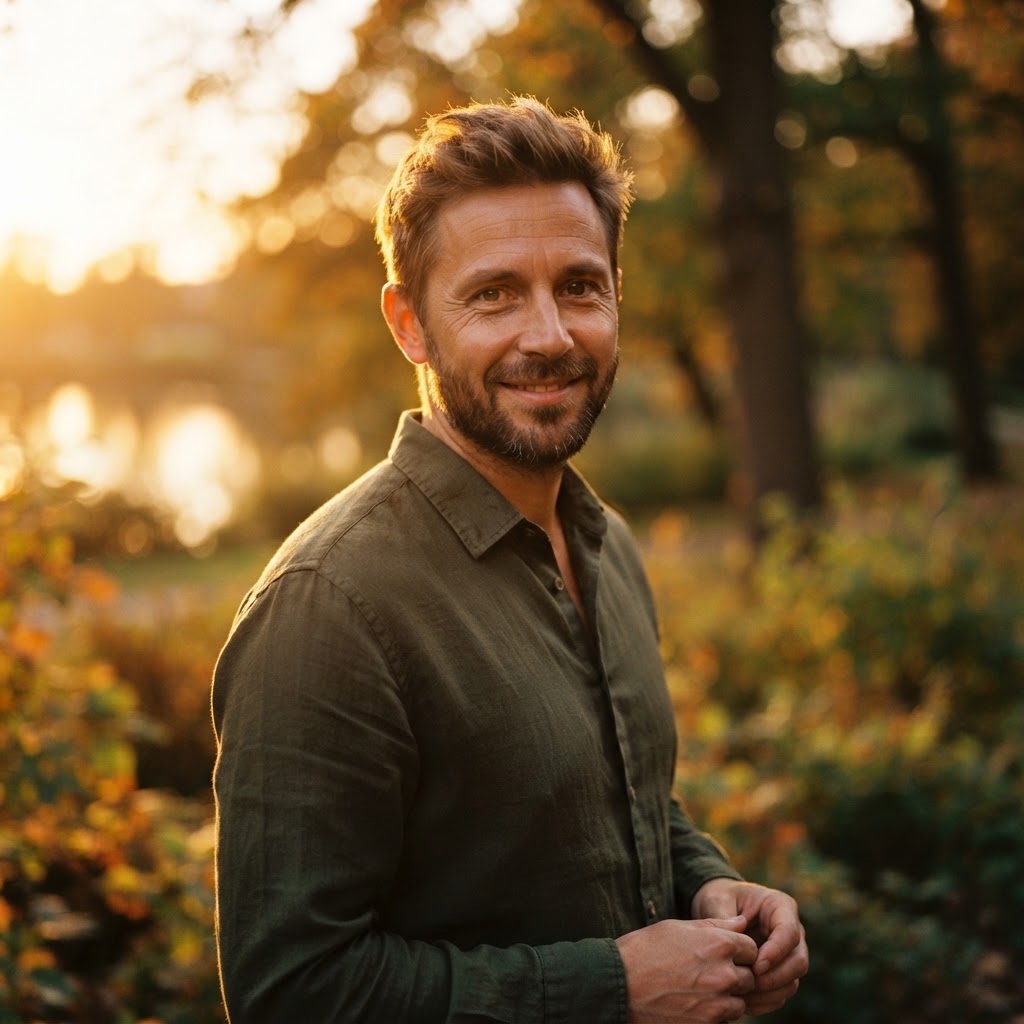
Golden Hour Portrait
Put the sun behind or beside your subject for warm, directional light and long, flattering shadows.
Perfect For
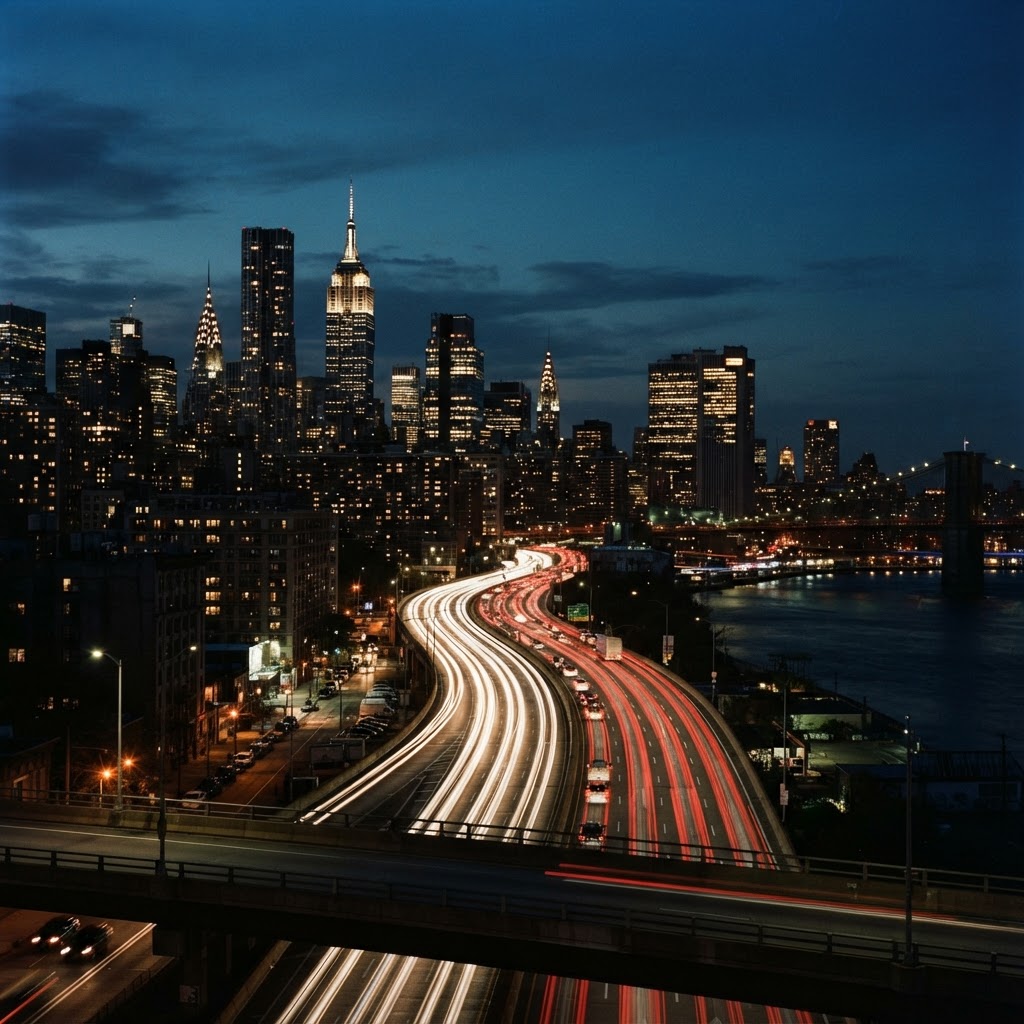
Low-Light / Night Photo
Use a wide aperture, a slower shutter, and higher ISO to gather light when the scene goes dark.
Aperture
f/1.4–f/2.8
Shutter
1/4–1/30s
ISO
800–6400+
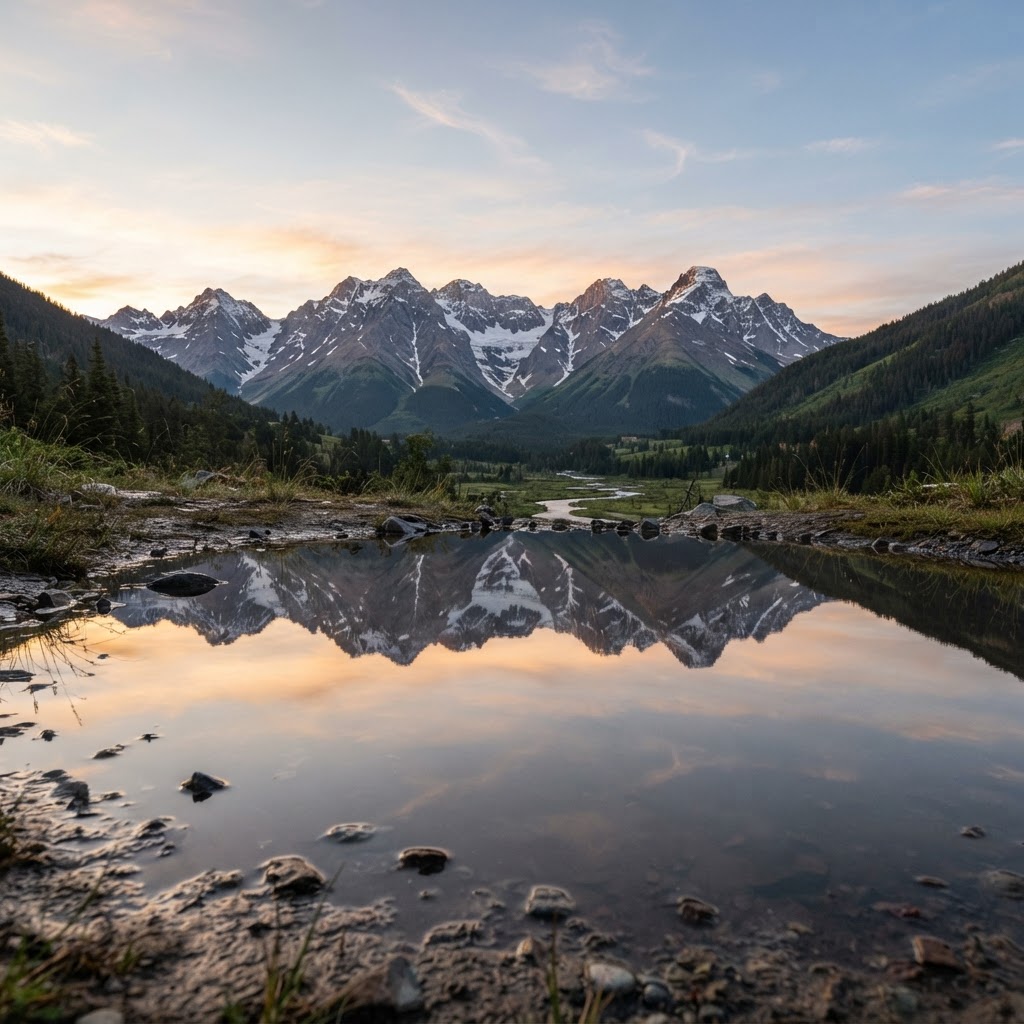
Reflection Shot
Look for water, glass, mirrors, and puddles. Get low to the ground to exaggerate the reflection.
Perfect For
- •Get low to the ground to exaggerate the reflection
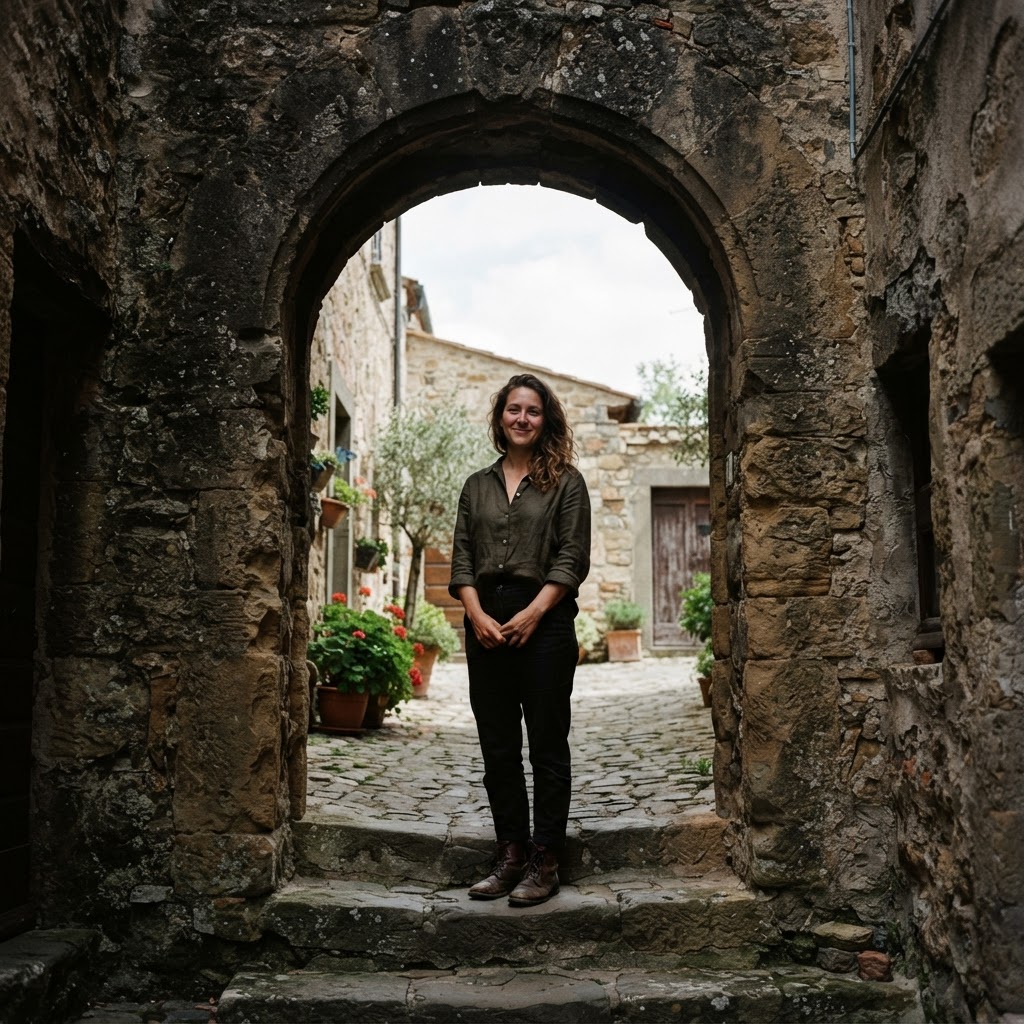
Frame Within a Frame
Shoot through doors, windows, trees, architecture, and foreground objects. Use the environment to lead the viewer toward your subject.
Perfect For
- •Use the environment to lead the viewer toward your subject
— Reference Guides
Visual Cheat Sheets
Printable, on-the-go references for the fundamentals — exposure, composition, lighting, colour, and lenses.
Exposure
Shutter · Aperture · Iso
This is all you need to know.
Keep the light meter at 0 for a balanced exposure.
Expose for the highlights to avoid blowing out the whites.
Aperture
Smaller f/stops represent larger apertures — more light through the lens and a shallower depth of field.
Shutter Speed
The length of time the digital sensor inside the camera is exposed to light.
ISO
The sensitivity of the image sensor (or film) to light.
Low ISO for daytime — high ISO for night.
Composition Examples
Sixteen frameworks for arranging a frame — red marks the principle, black frames the subject.
Lighting Guide
Master Pro Portrait Studio Set-Ups
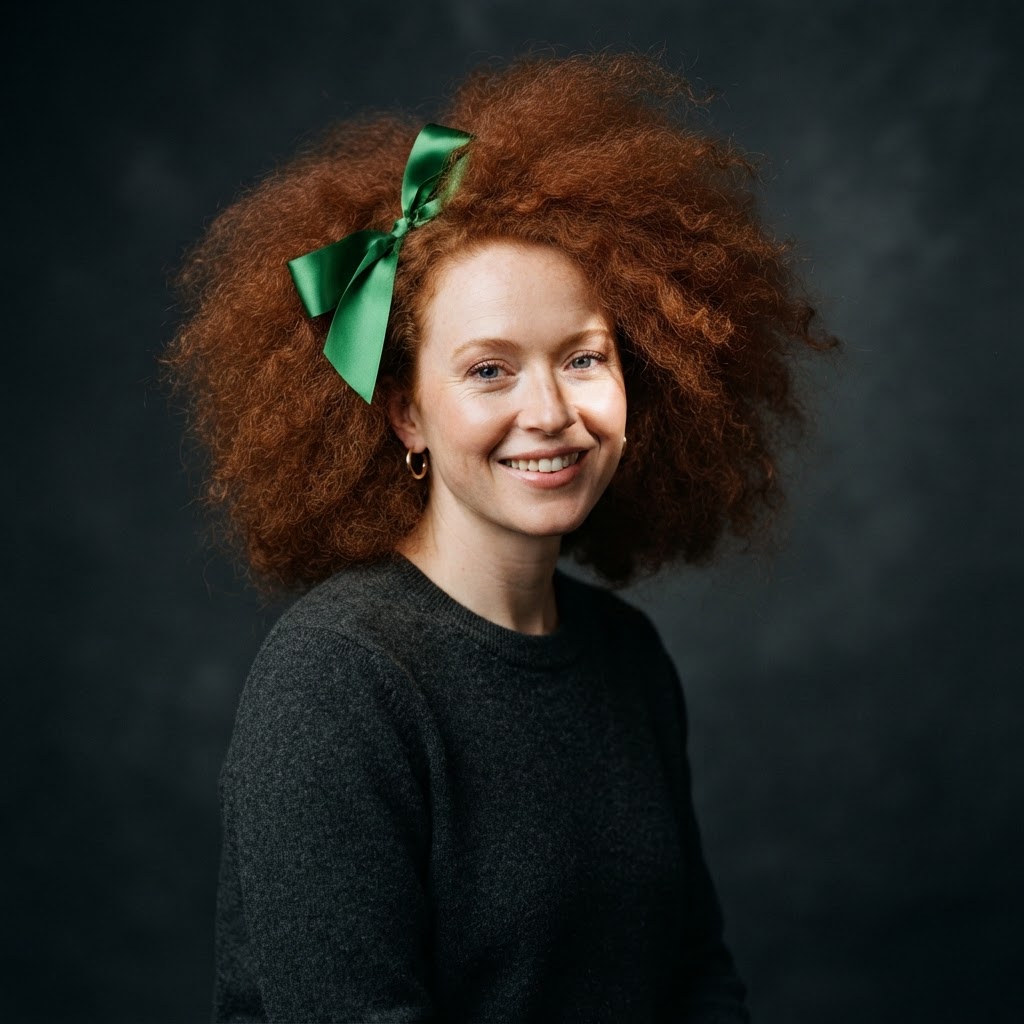
Rembrandt · Softbox
Key 45° front-high. Triangle of light on shadow cheek.
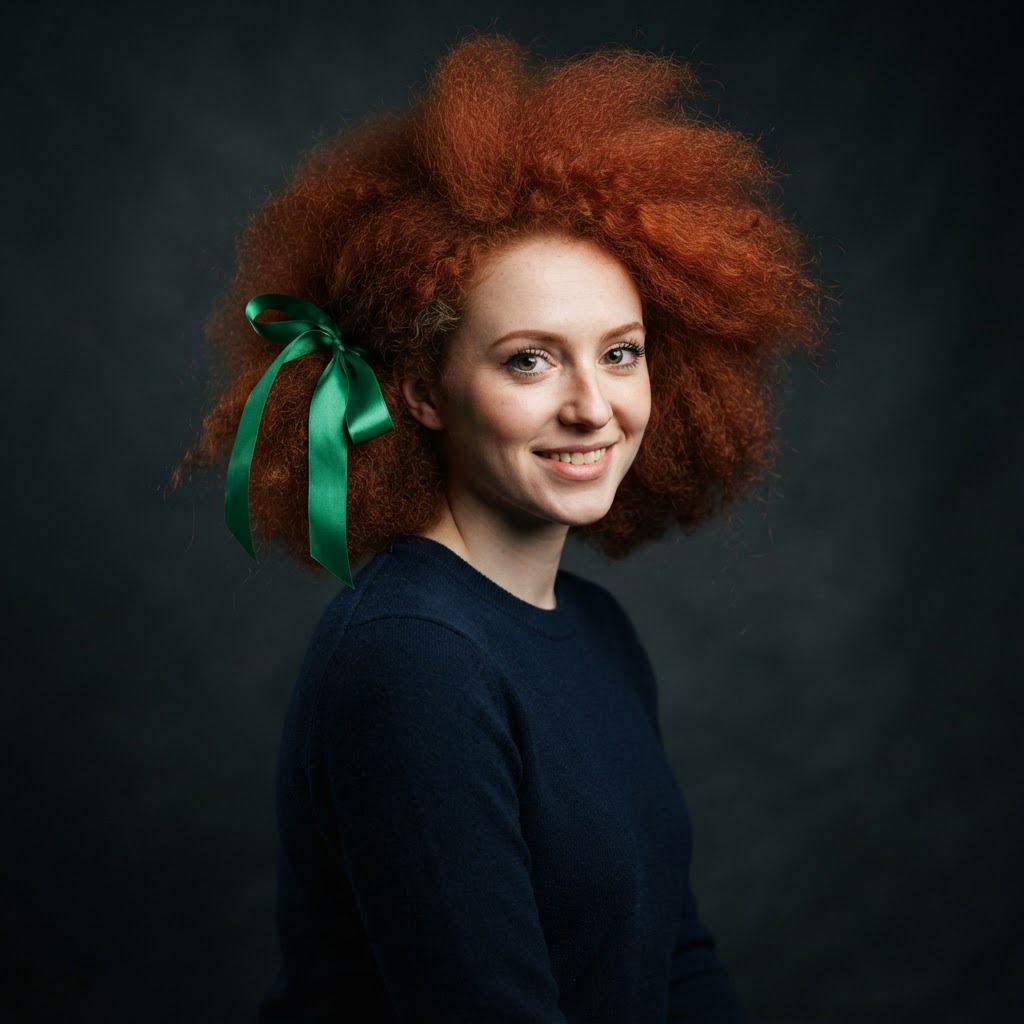
Rembrandt · Brolly
Shoot-through umbrella for soft, spread Rembrandt.
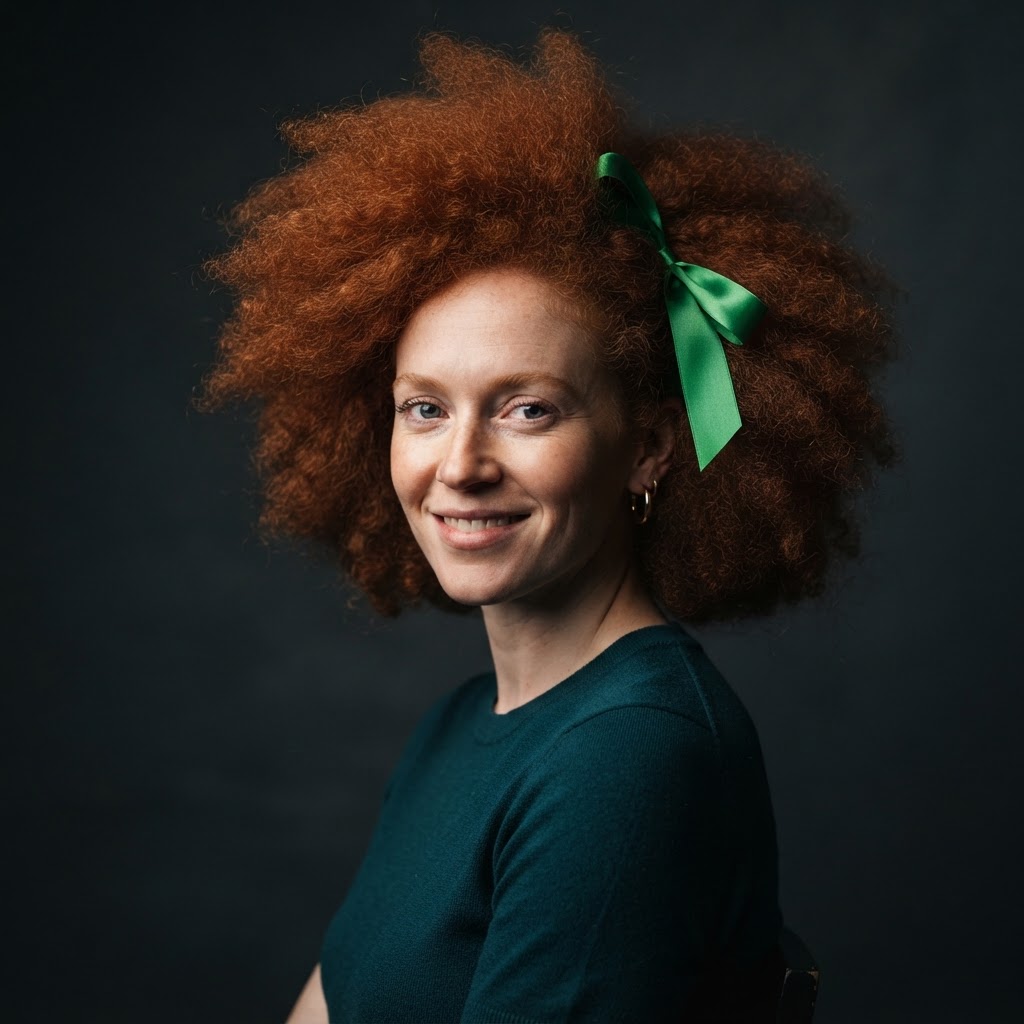
Rembrandt · Honeycomb
Grid controls spill — focused Rembrandt patch.
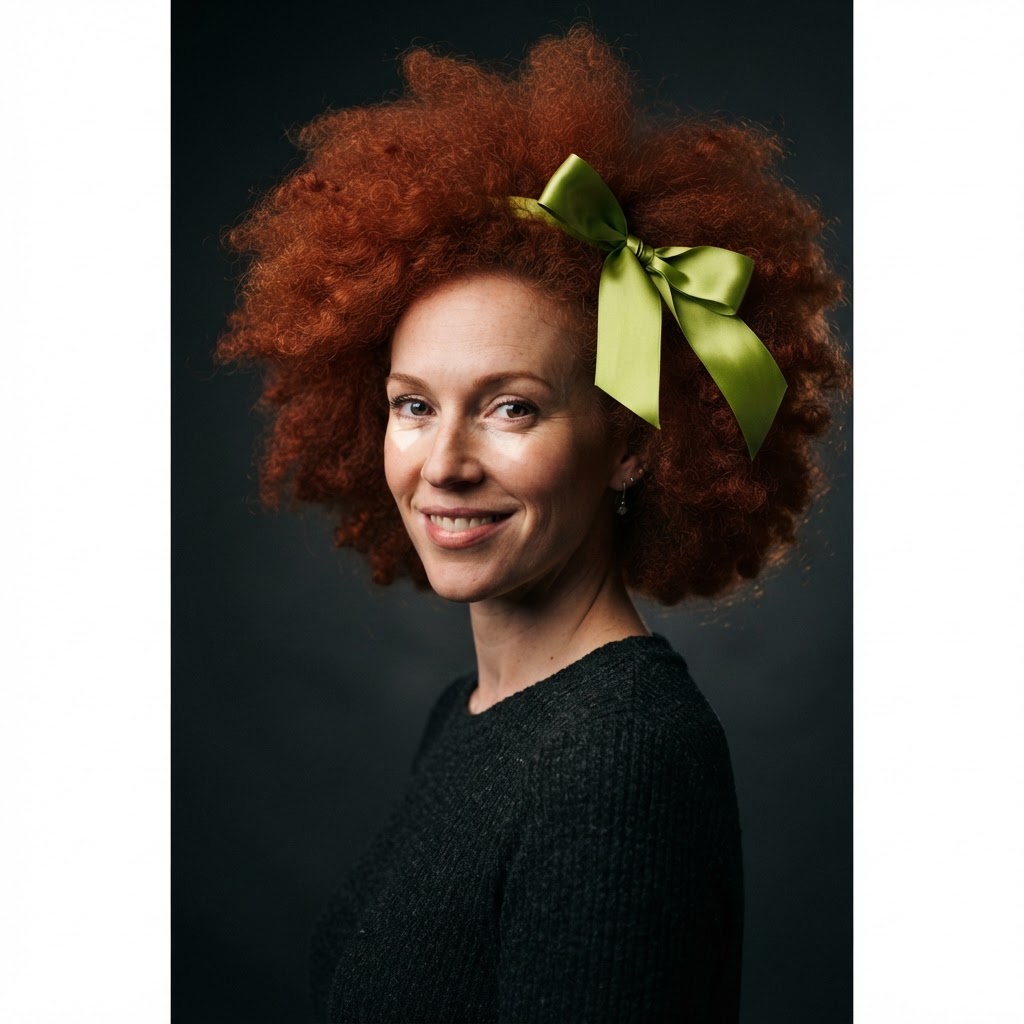
Rembrandt · Silver Brolly
Reflective umbrella — snappier contrast.
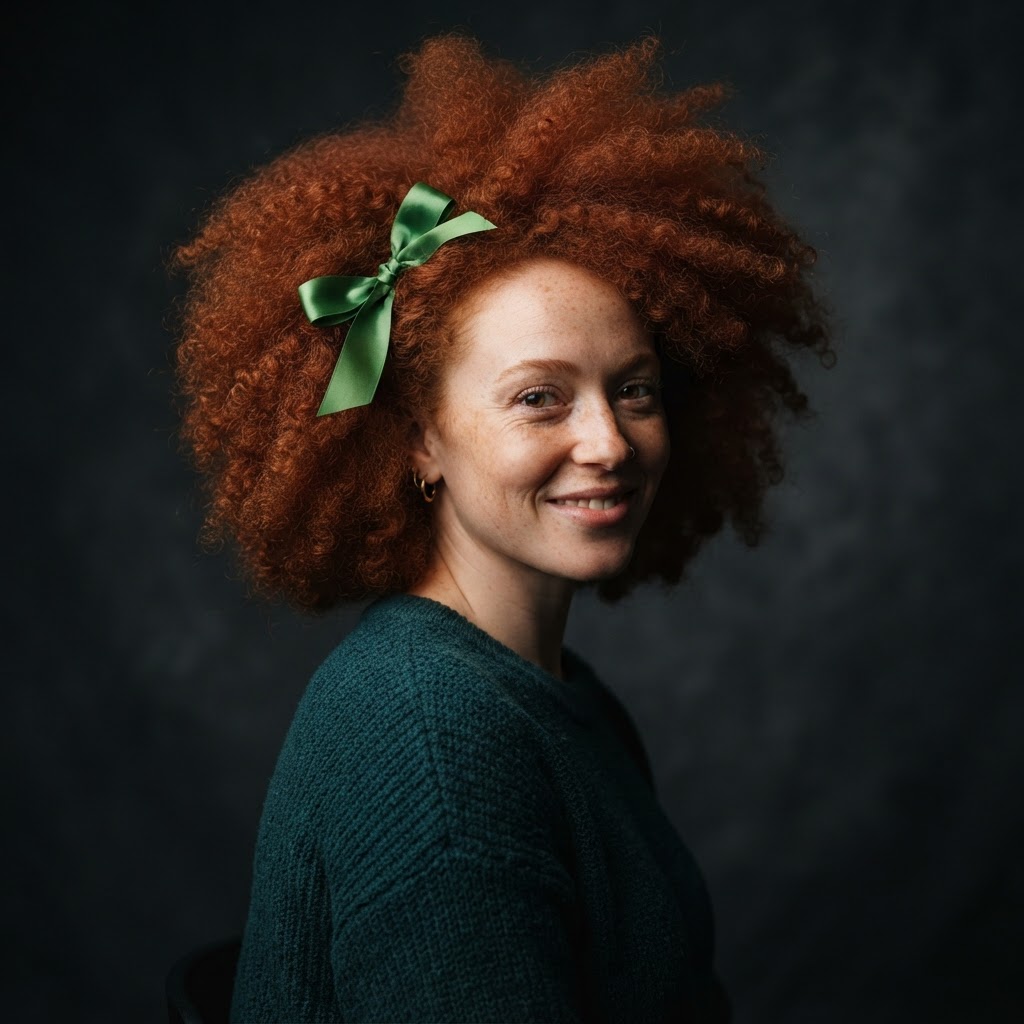
Rembrandt Short
Key lights the side of face turned from camera.
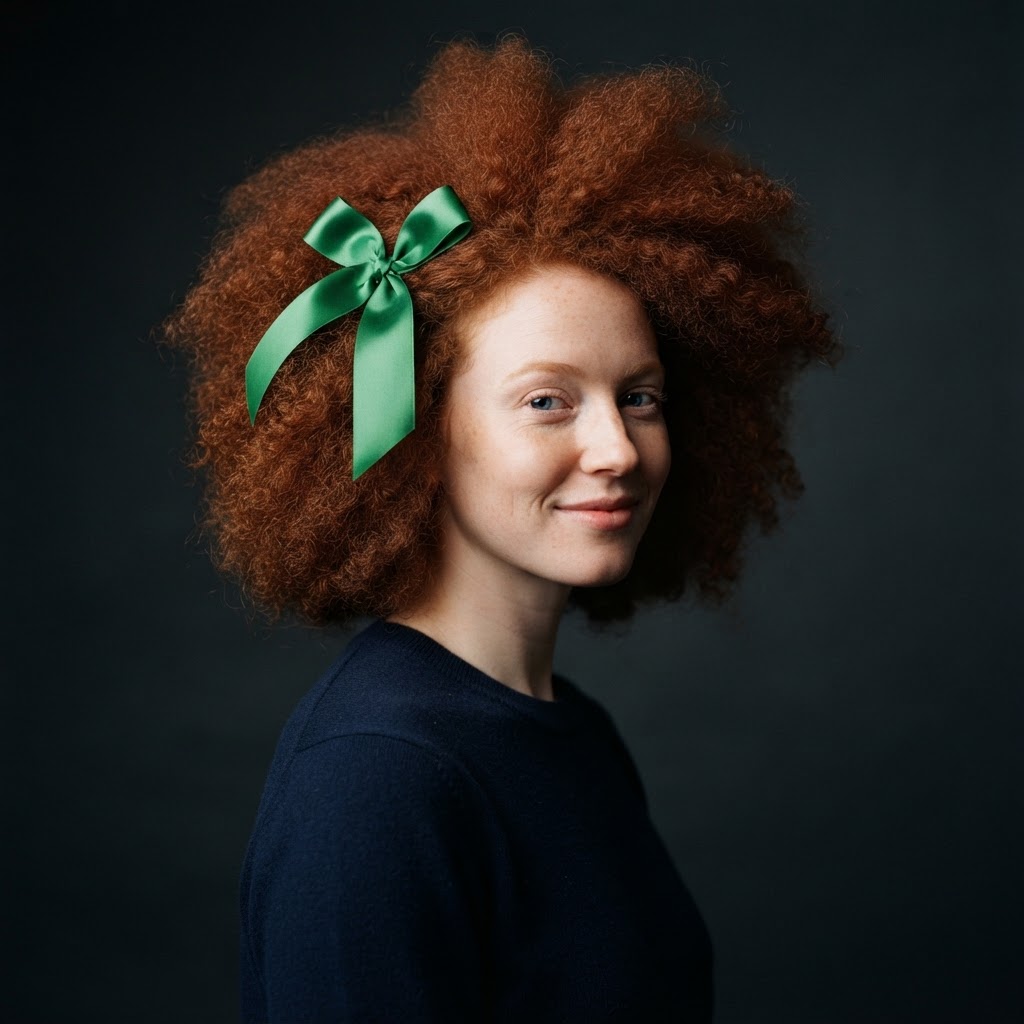
Rembrandt Broad
Key lights the side turned toward camera.
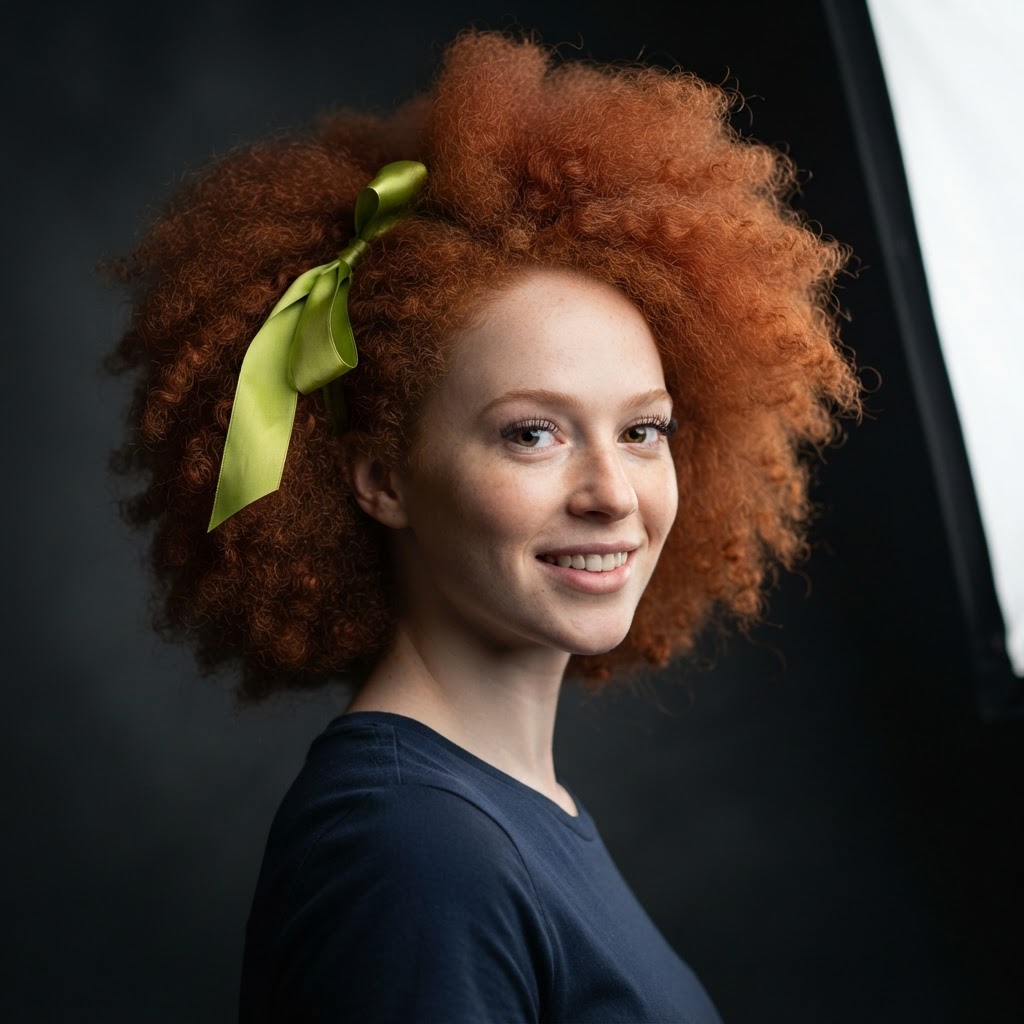
Split
Key 90° side — half face in shadow.
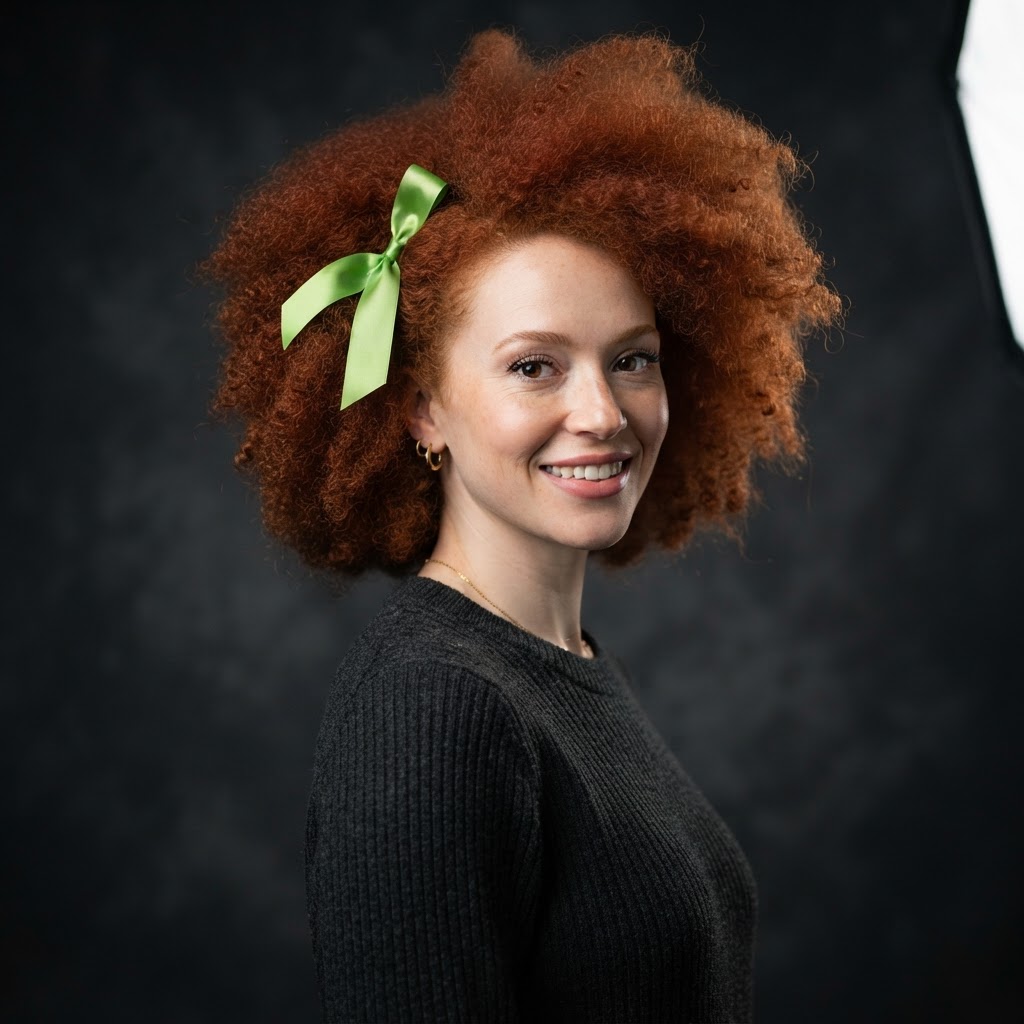
Split with Fill
Split key plus low-fill on shadow side.
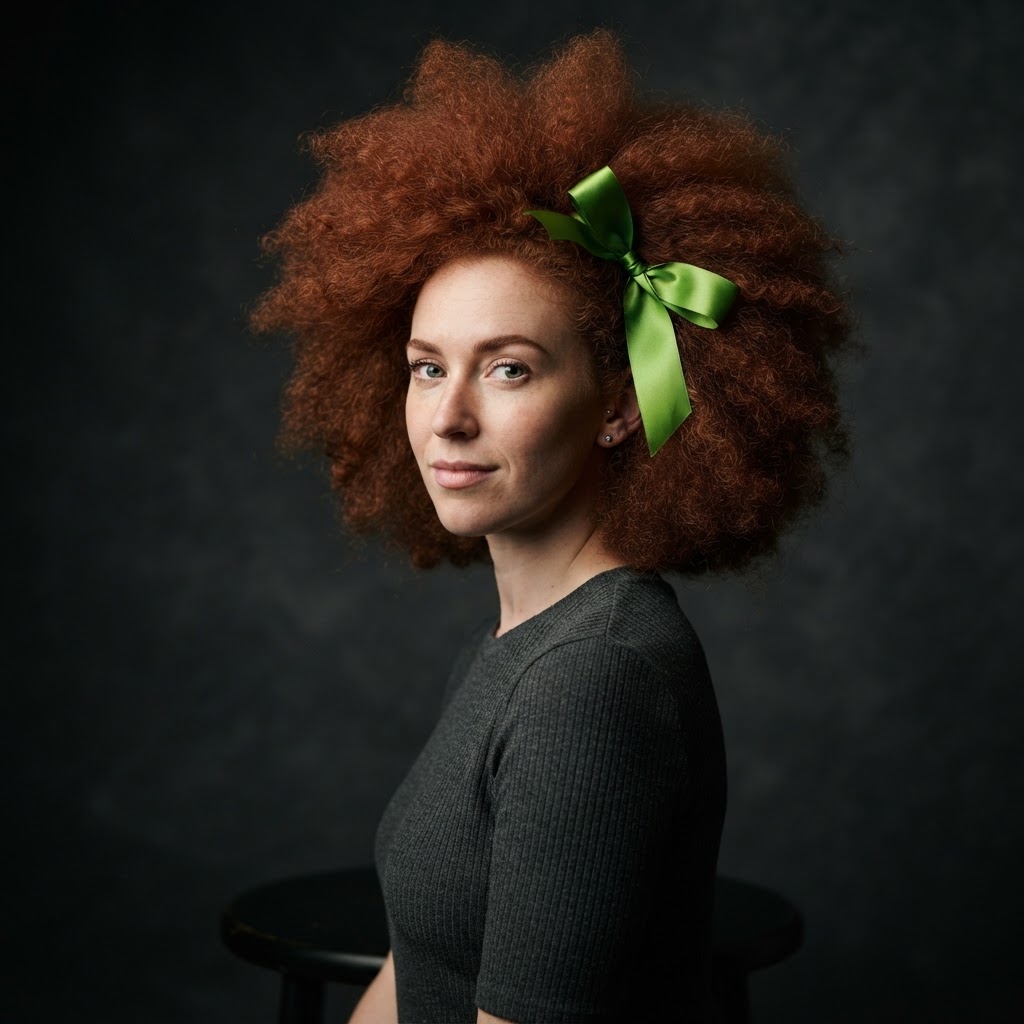
Split / Short
Side key on the off-camera side of the face.
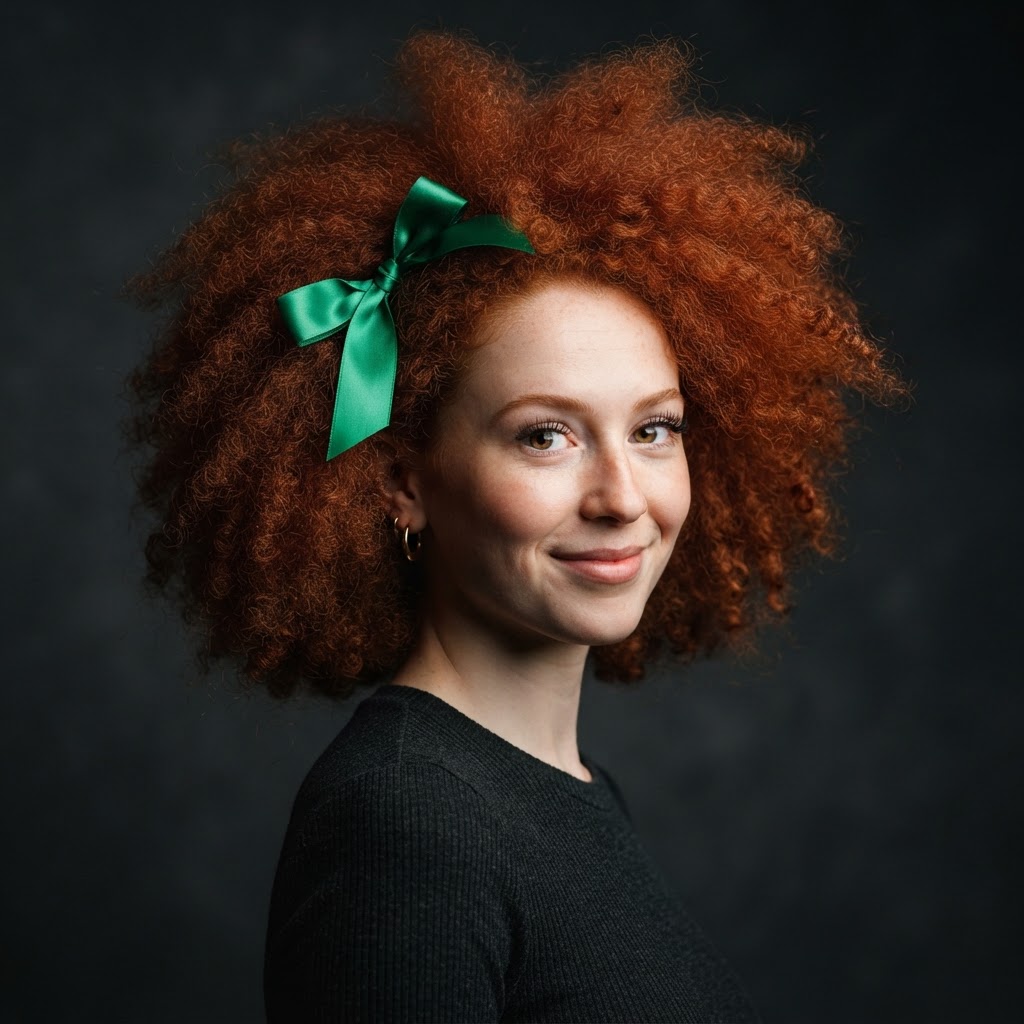
Split / Broad
Side key on the camera-facing side of the face.
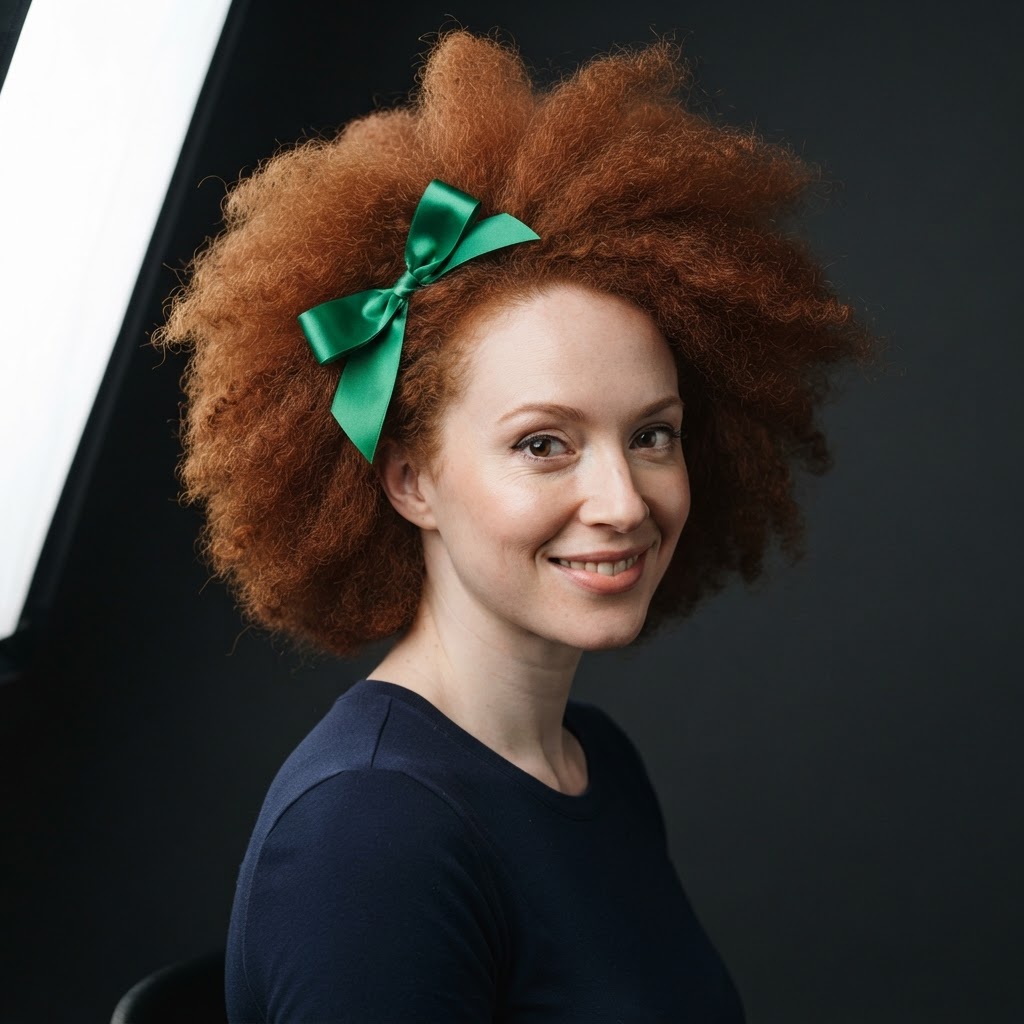
Key · Close Softbox
Large, soft wrap from a near softbox.
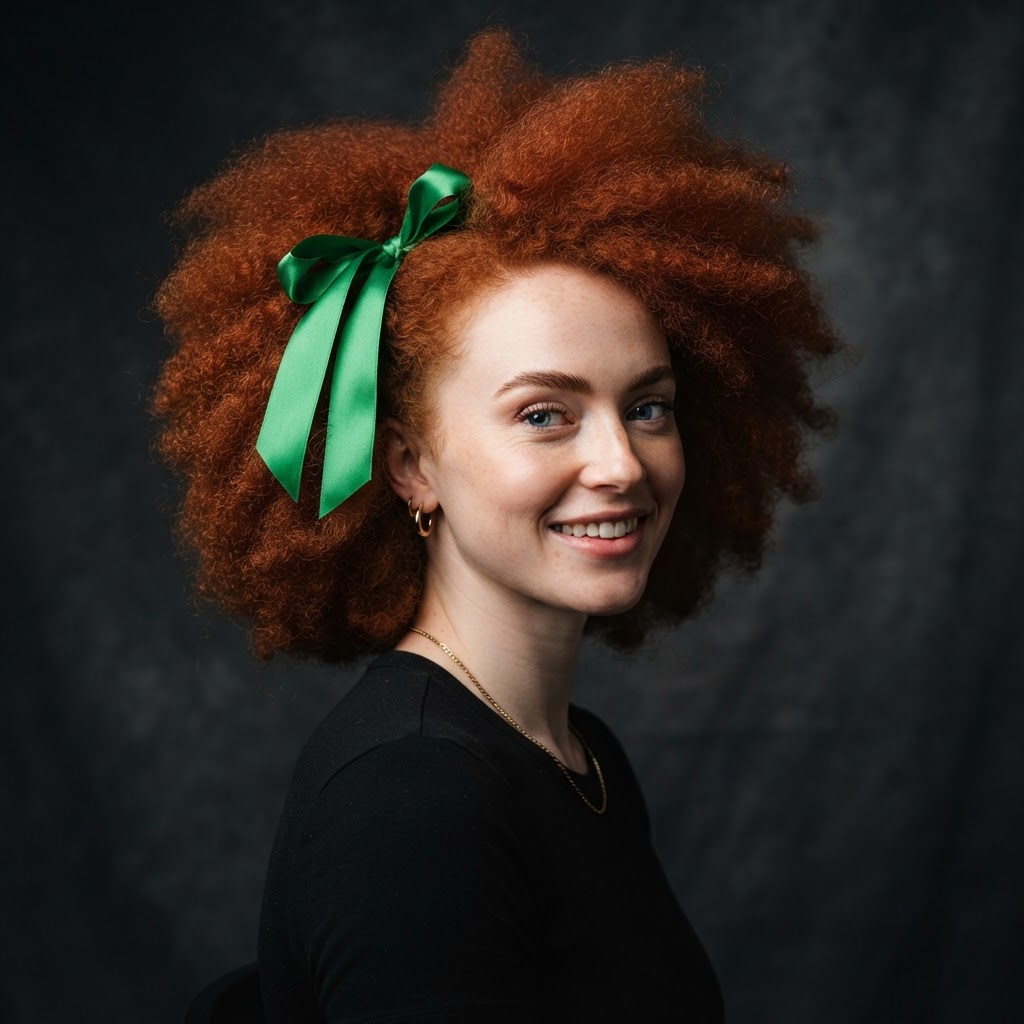
Key · Far Softbox
Smaller, harder source — more shadow detail.
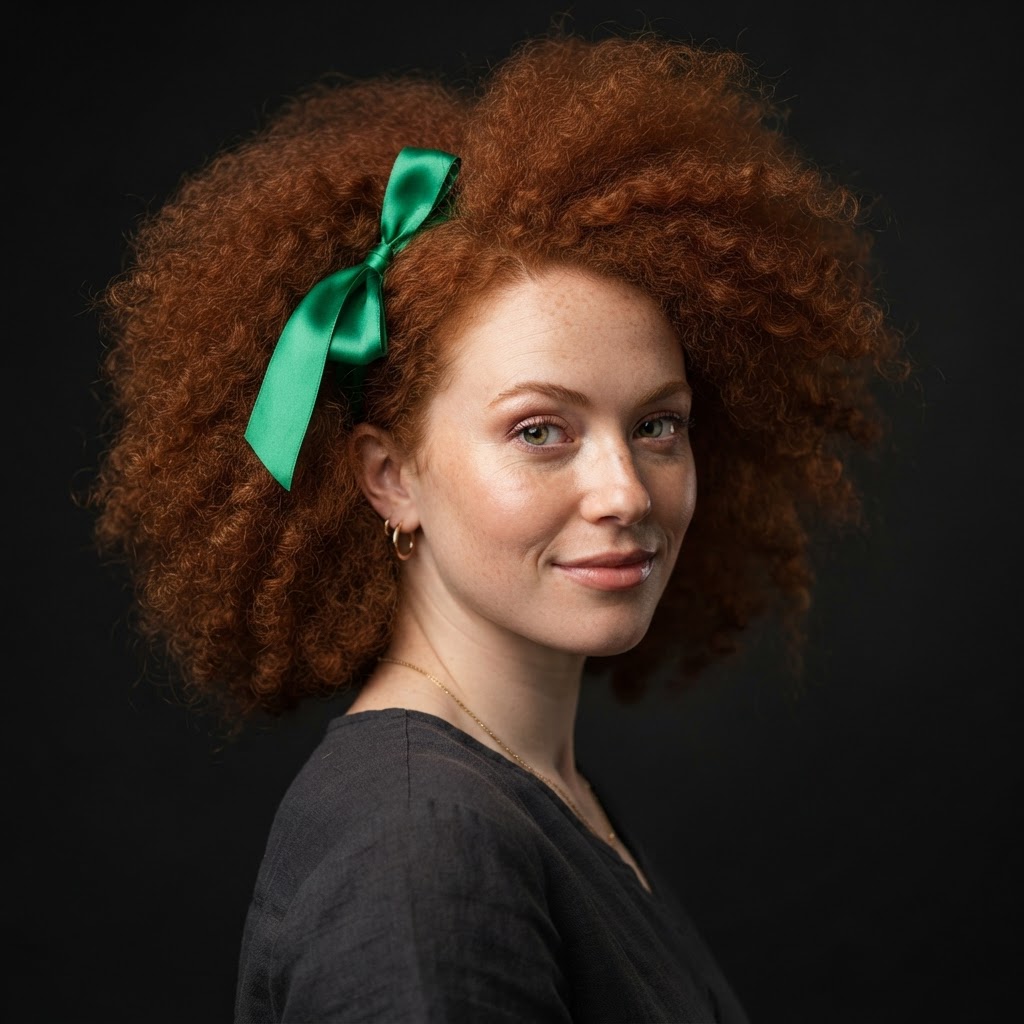
Loop
Key slightly off-axis — nose shadow loops down.
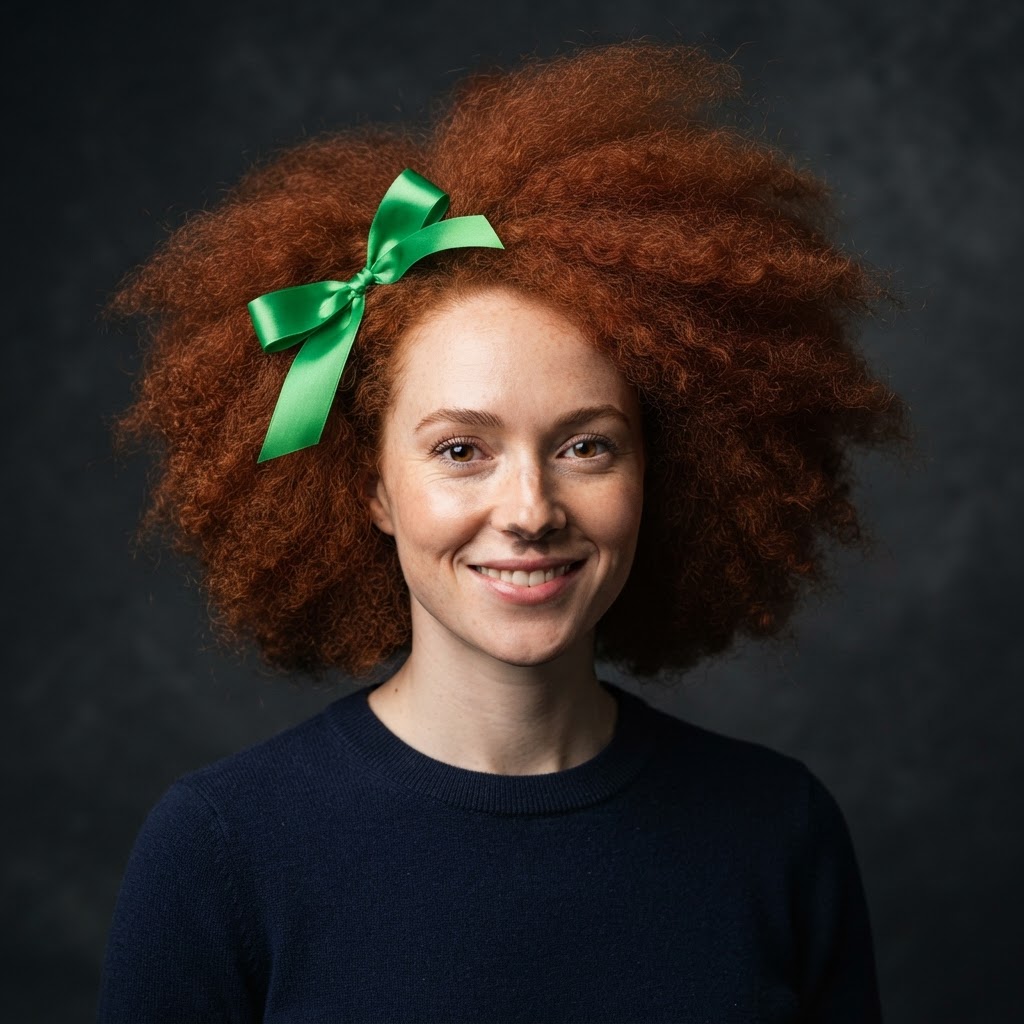
Butterfly
Key high & on-axis — butterfly nose shadow.
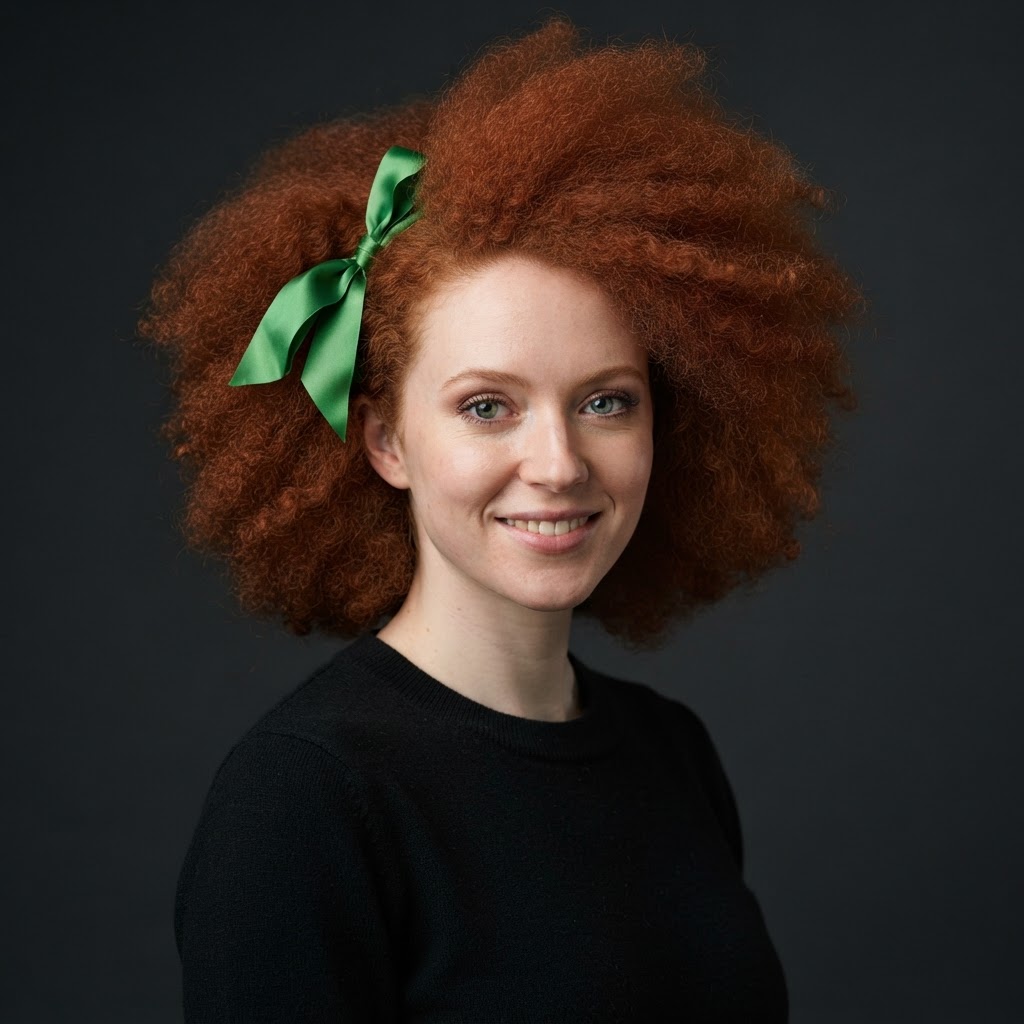
Flat Light
Key on-camera axis — even, shadowless.
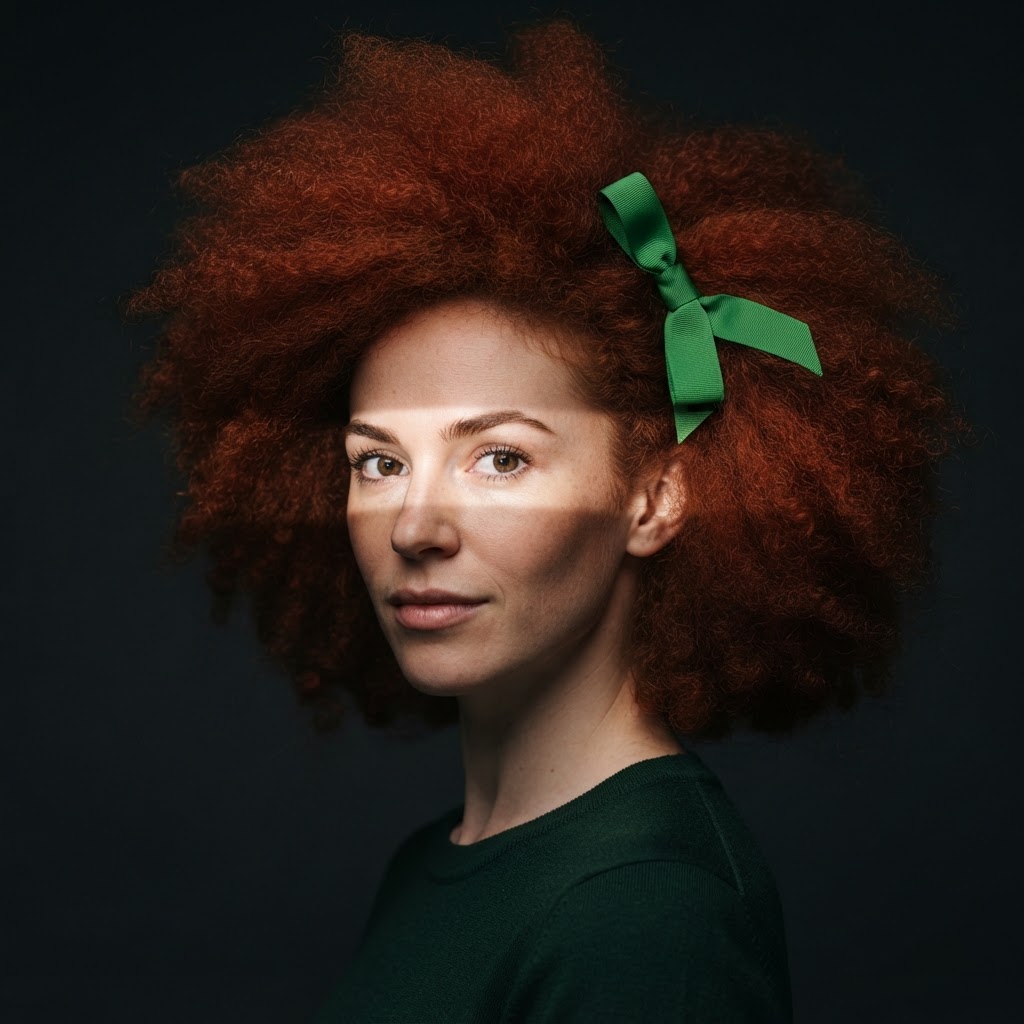
Badger
Top + bottom split — dramatic light banding.
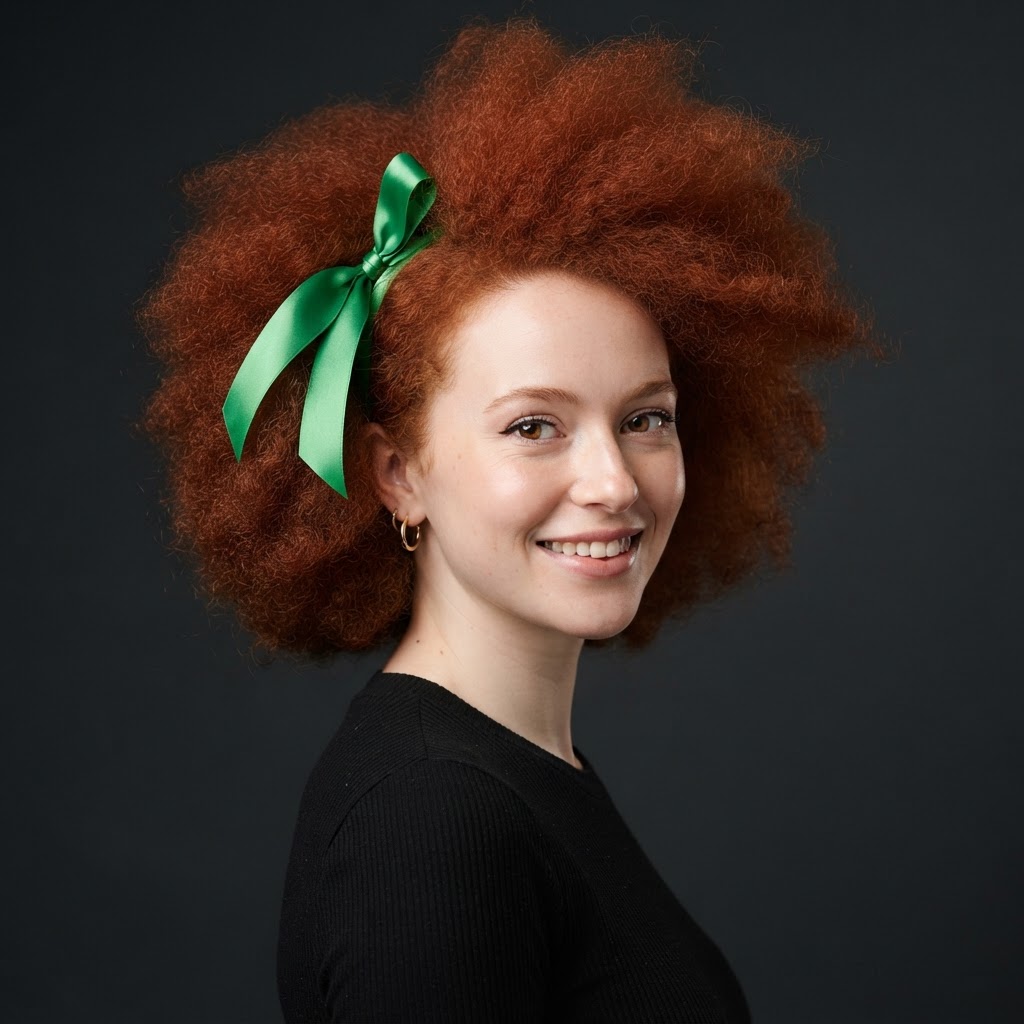
Clamshell
Top key + bottom reflector — beauty glow.
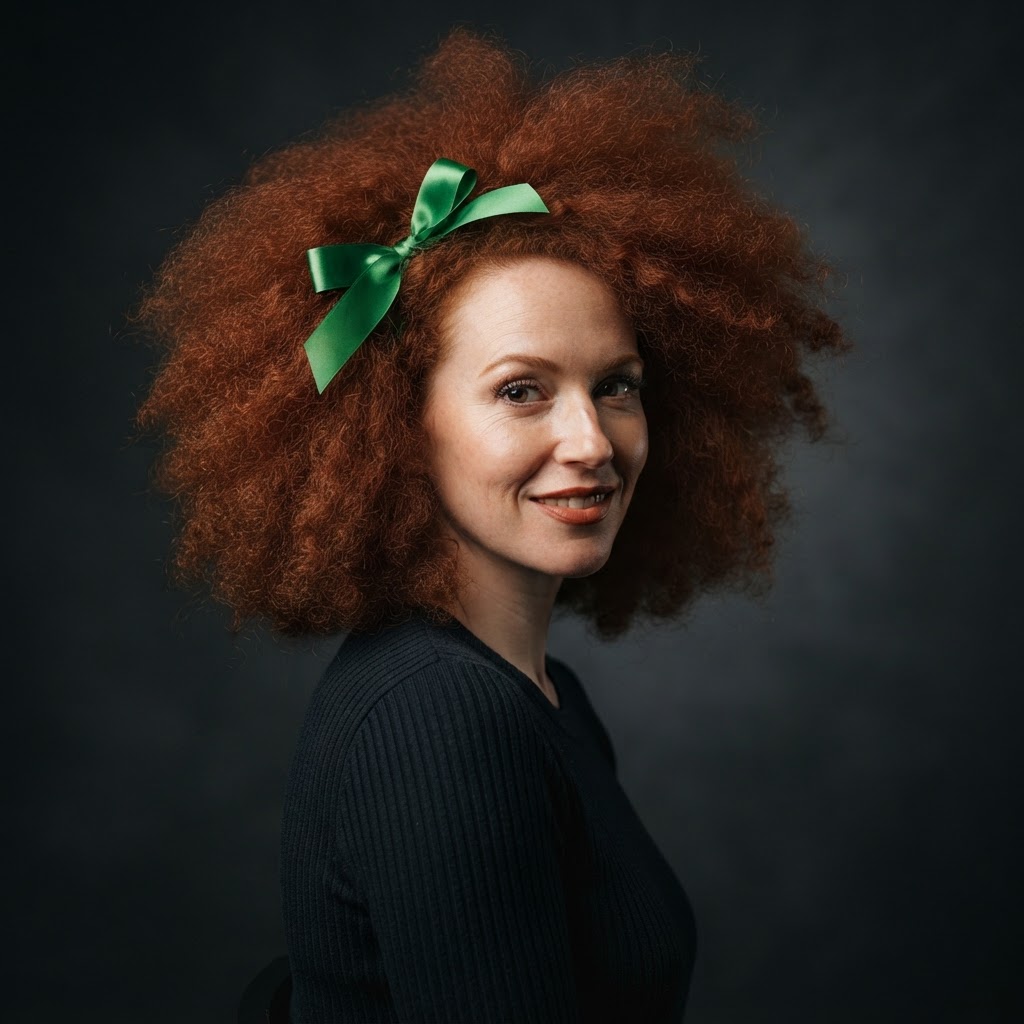
Loop + Background
Loop key plus a light on the backdrop.
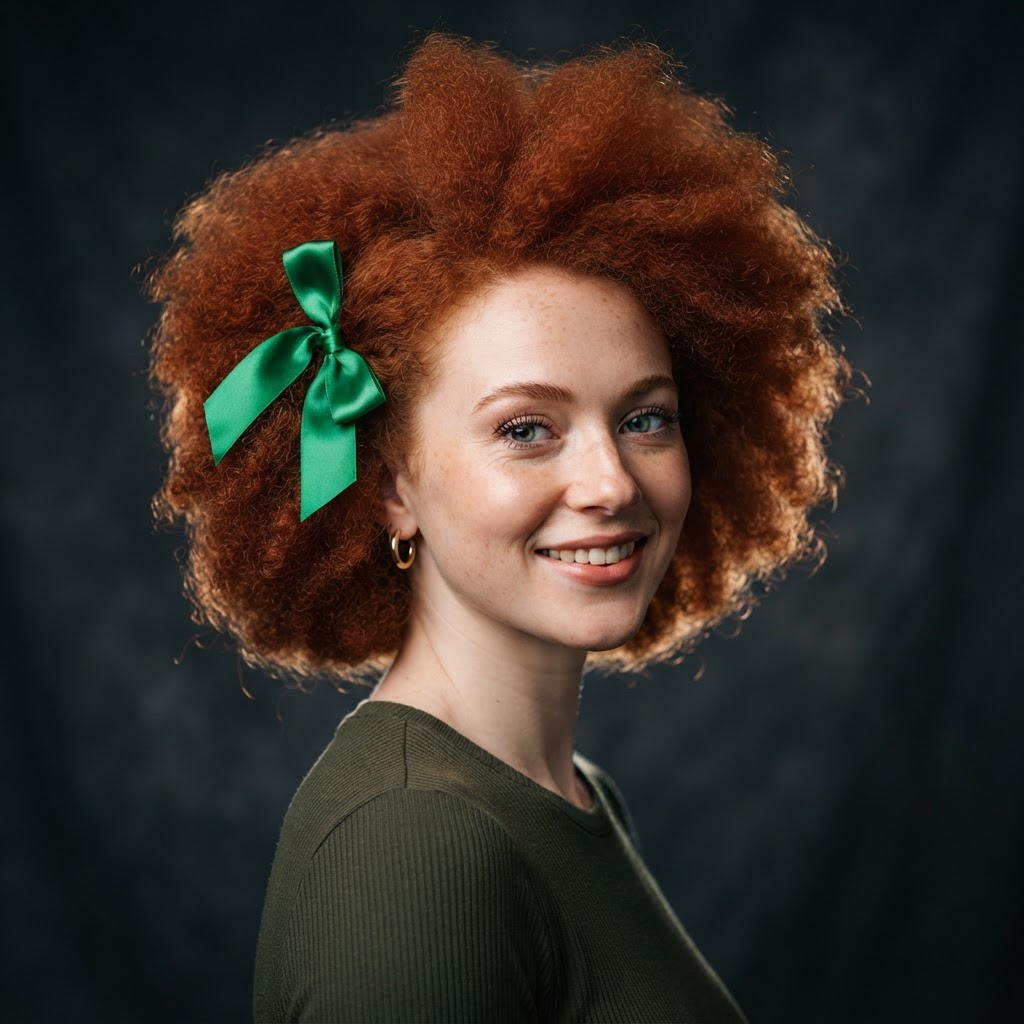
Loop + Rim
Loop key plus a rear rim to separate subject.
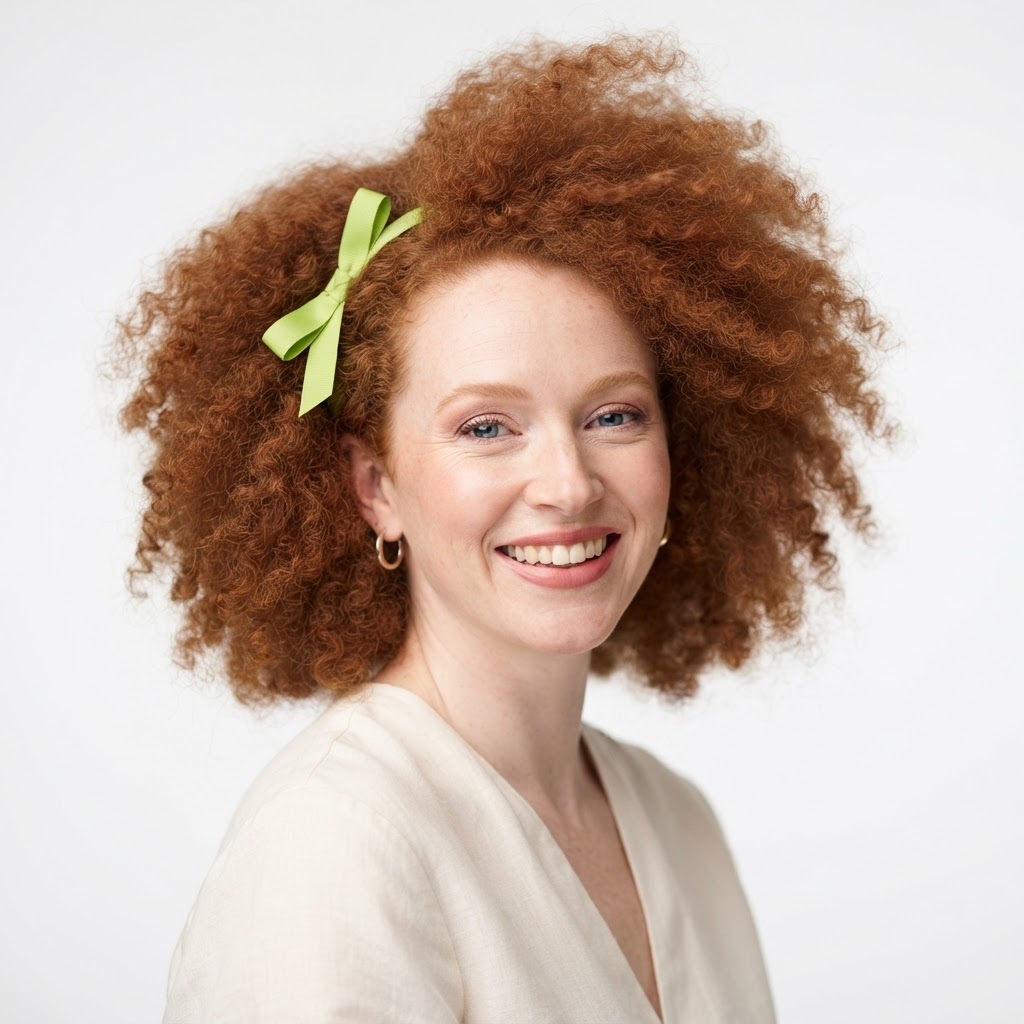
High Key
Bright, evenly lit — near-white background.
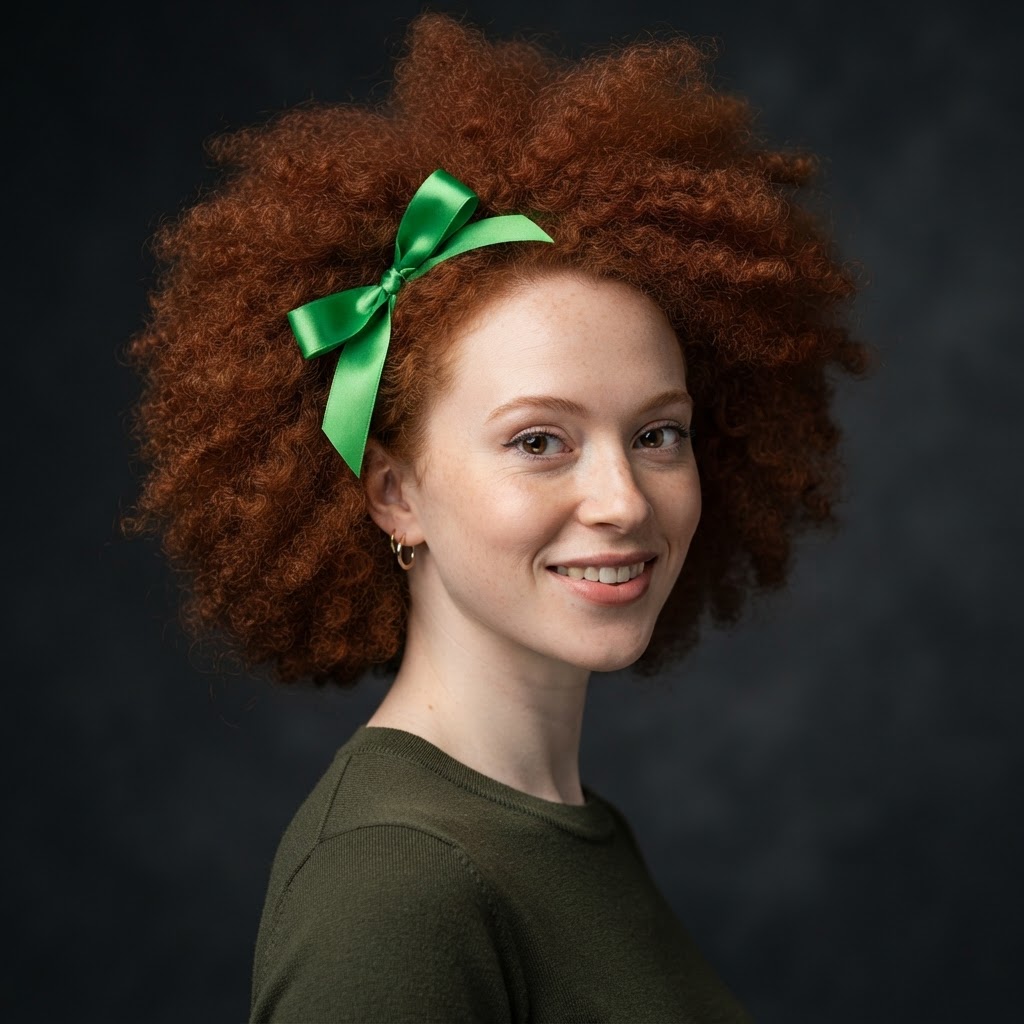
Key + Fill
Two-light ratio — shape with contrast control.
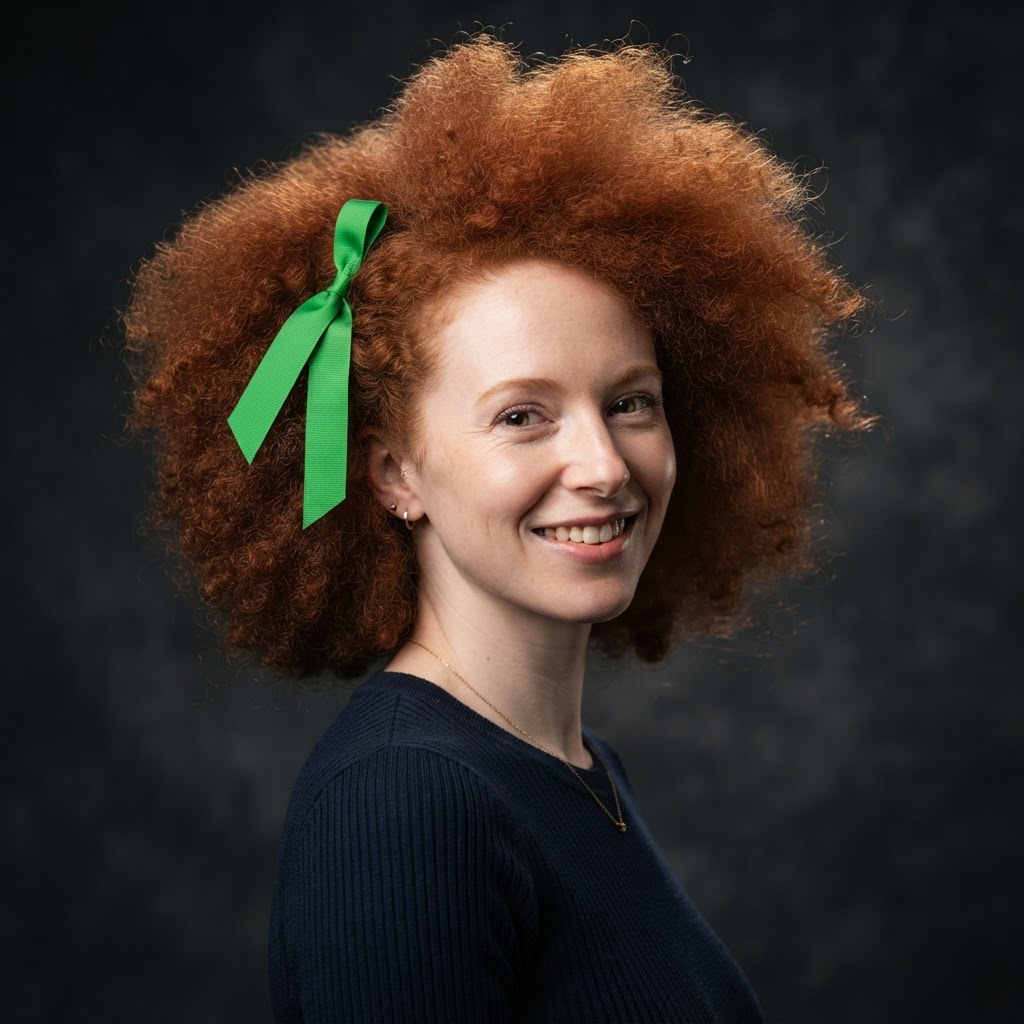
Key, Fill + Hair
Classic three-light portrait rig.
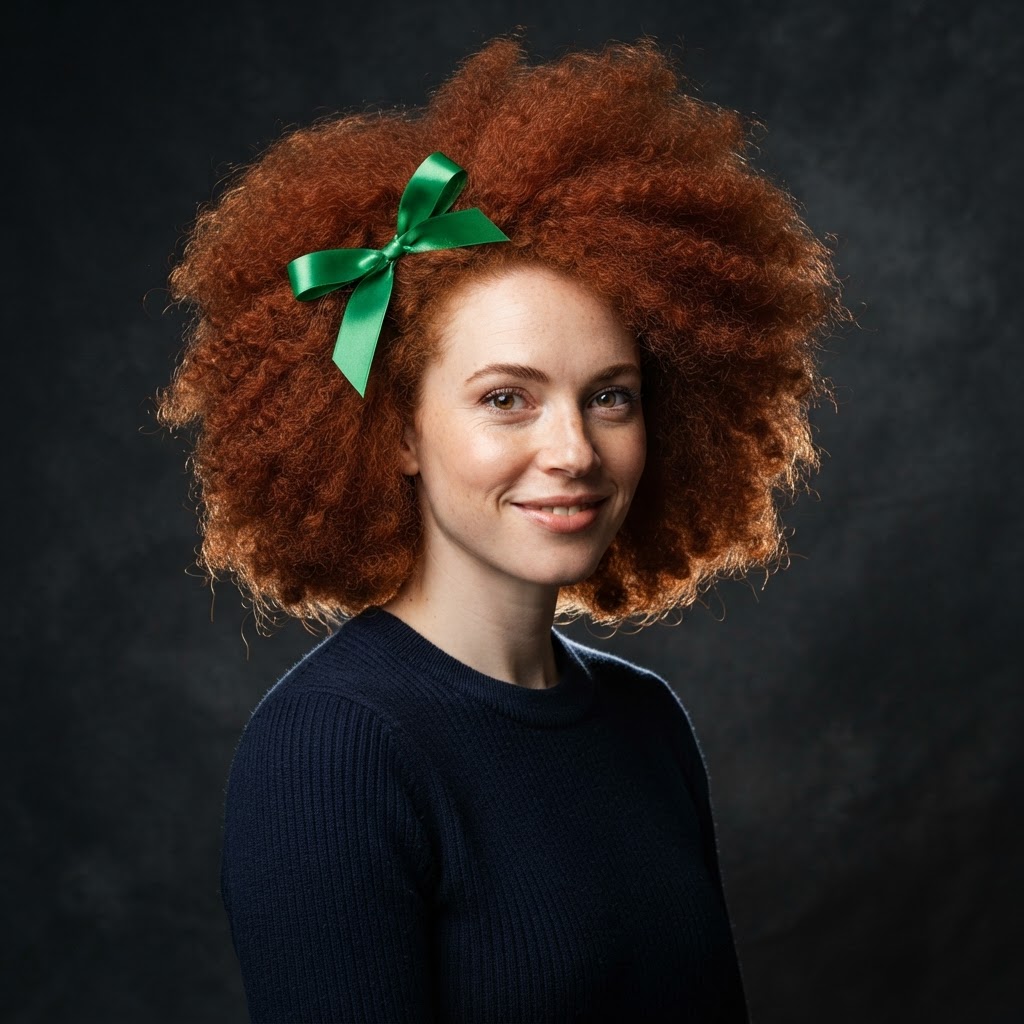
Hard Key + Kickers
Bare-bulb key flanked by edge kickers.
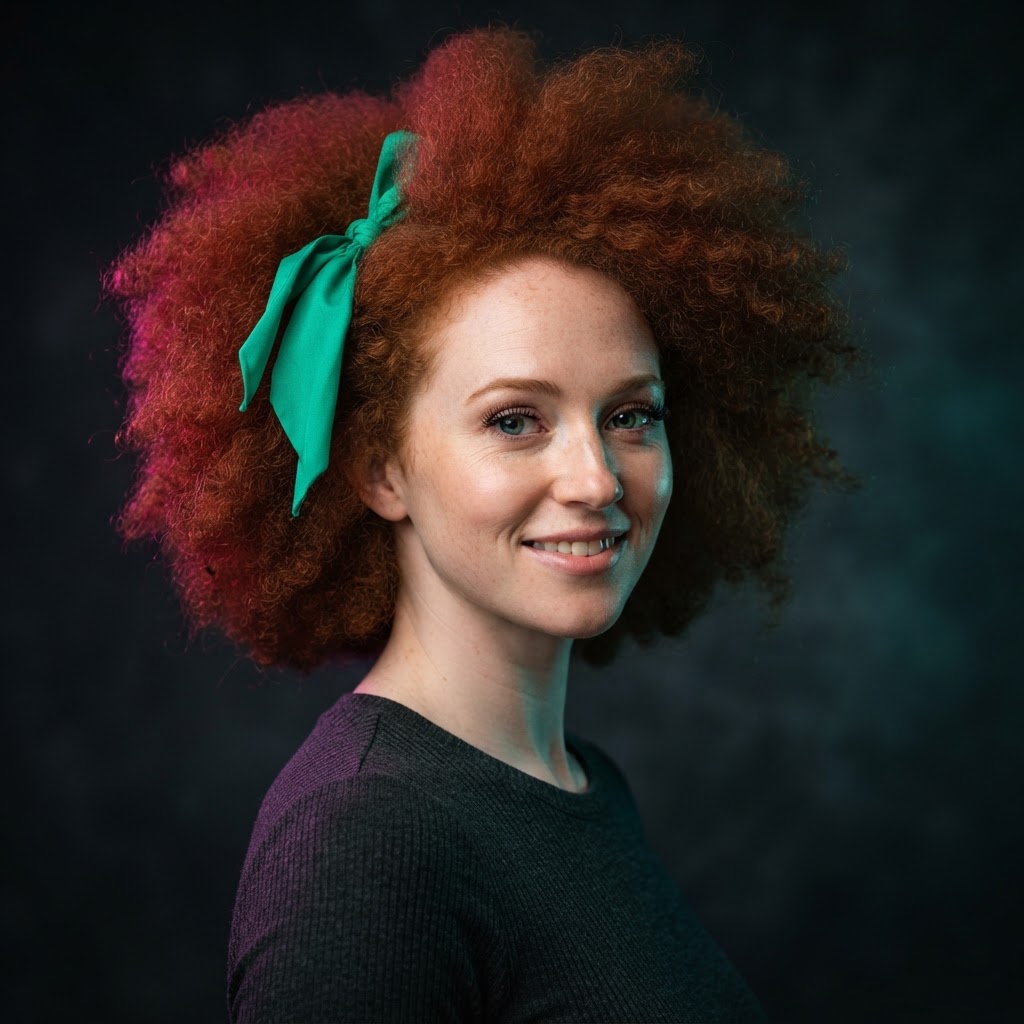
Coloured Gels
Gelled key + complement for creative wash.
Color Theory
Color Mixing
CMYK — Print Process
RGB — Light Generated
Grayscale — Black & White
HSB — Hue · Saturation · Brightness
Meanings
Red
Love · Blood · Fire · Energy · Strong
Purple
Power · Wealth · Ambition · Royalty
Blue
Sea · Trust · Sky · Stability · Depth
Green
Freshness · Nature · Growth · Safety
Yellow
Energy · Sunshine · Bright · Joy
Orange
Warm · Happiness · Success · Creative
Color Properties
Color Relationships
Focal Length & the Face
The same subject shot at nine focal lengths — wide lenses stretch and distort the face, longer lenses compress and flatter. Move the camera back to keep framing consistent as you increase focal length.
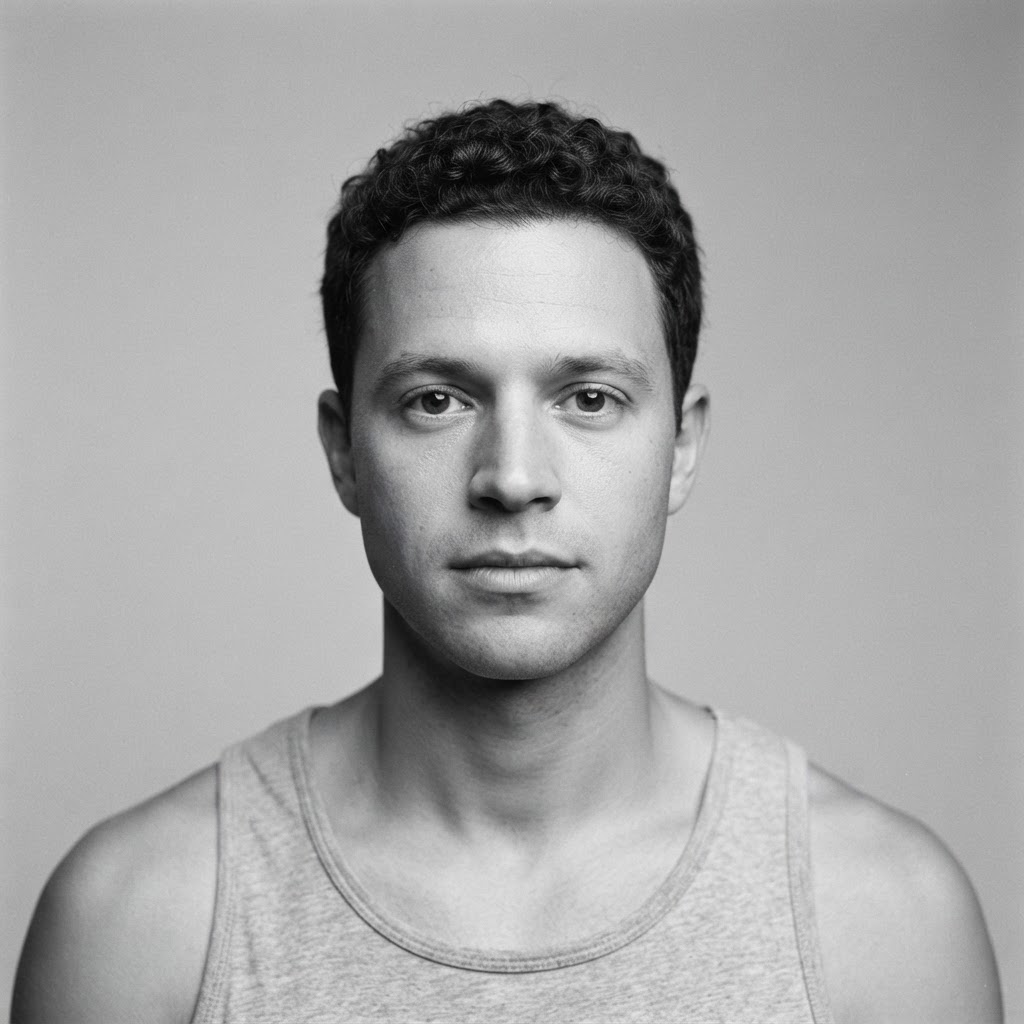
Telephoto Compression
The background appears closer to the subject as focal length increases. Only two variables change — your distance from the subject, and the focal length itself — yet the outcome looks dramatically different.
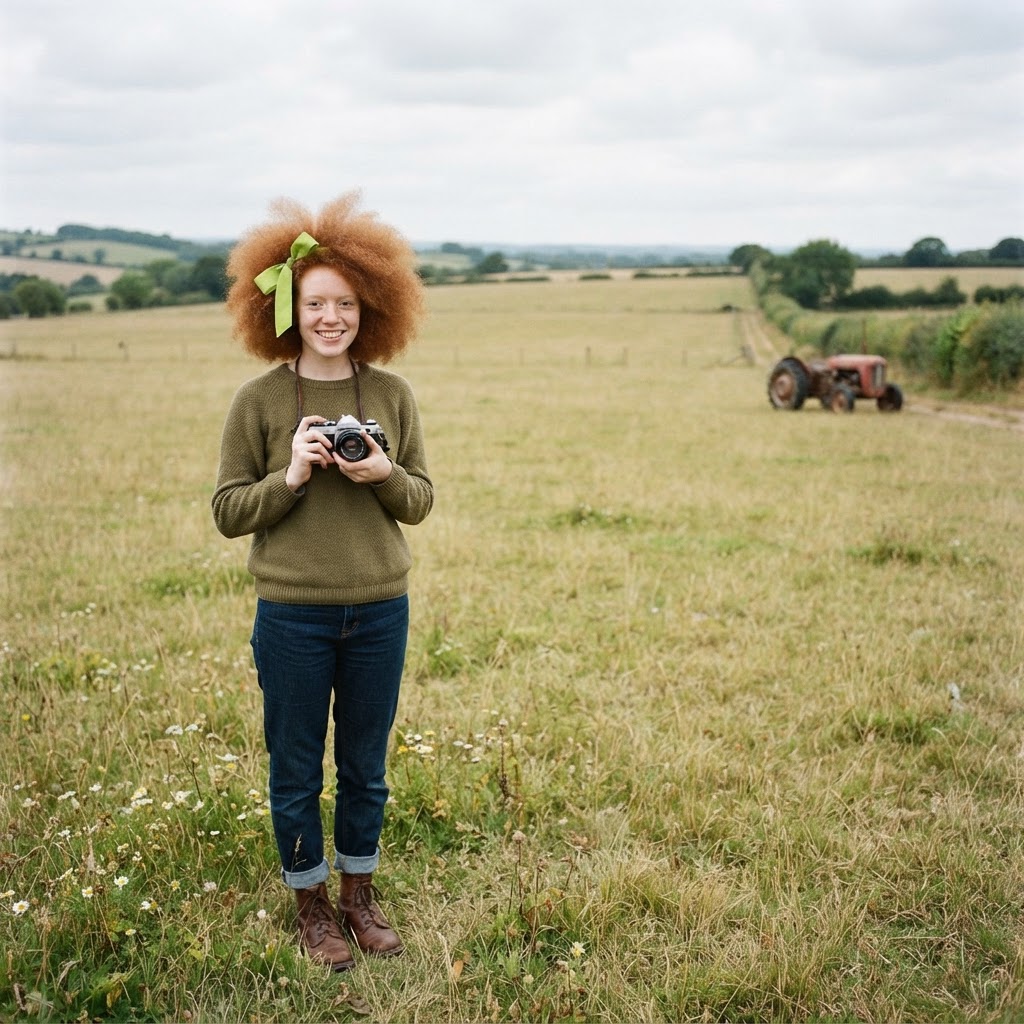
Wide view — the background sits far behind the subject.
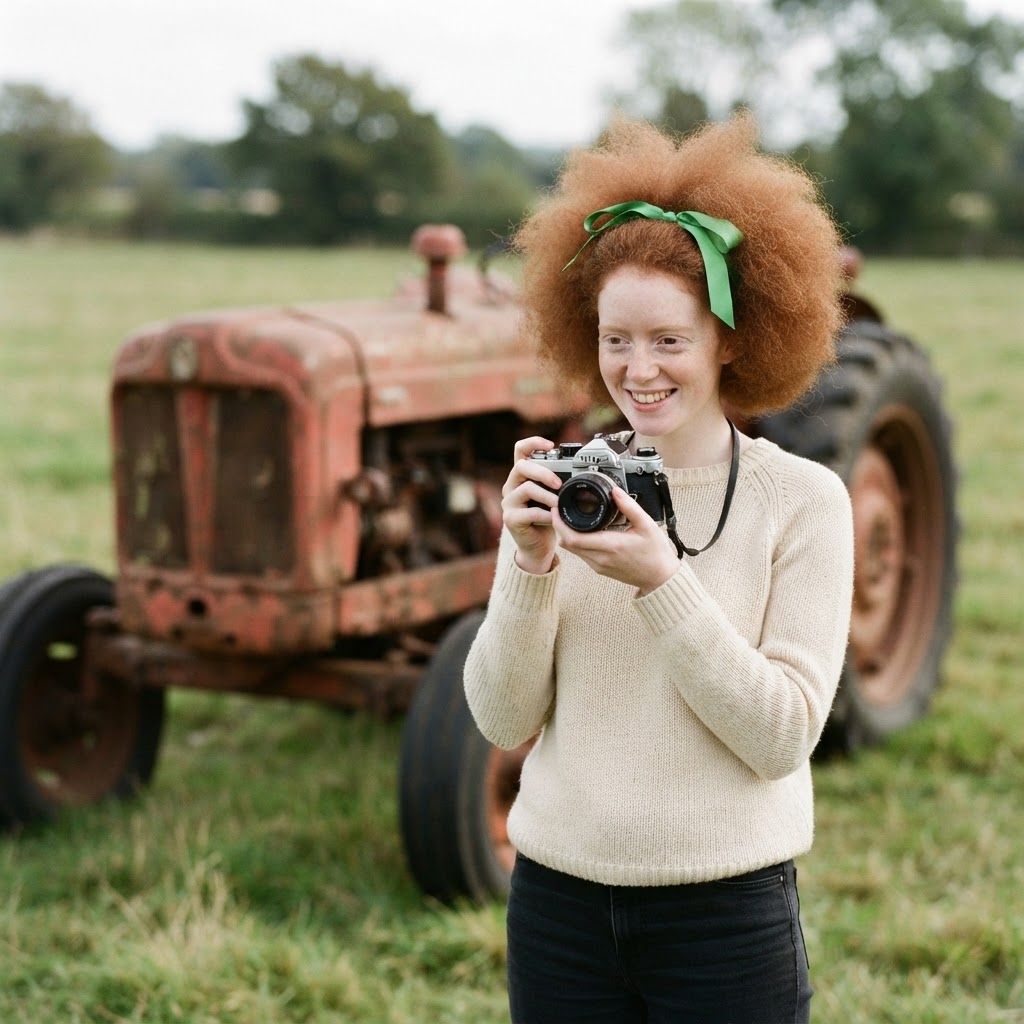
Medium telephoto — the background visibly moves closer.
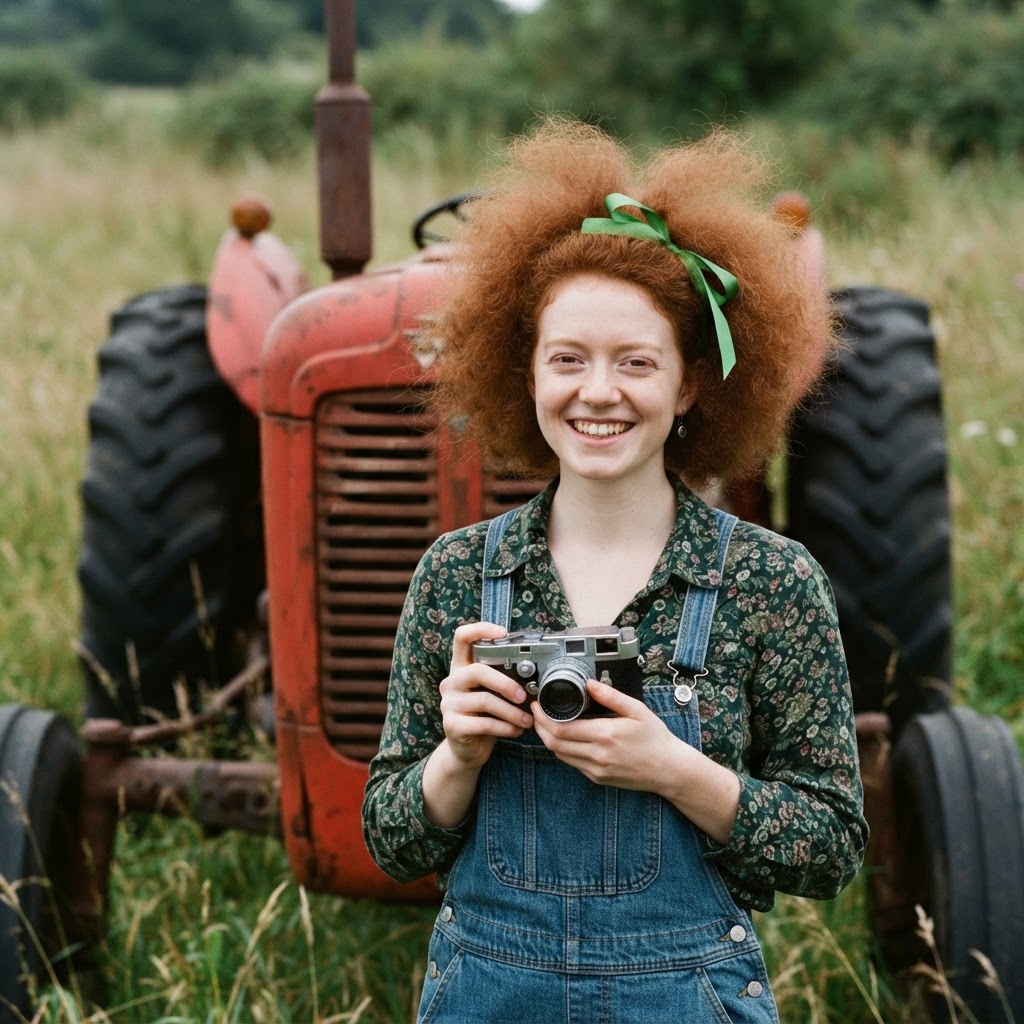
Long telephoto — background compresses right against the subject.
The takeaway
Stand farther back and zoom in. The subject stays the same size in the frame, but the background compresses toward them — a signature look of long lenses that wide angles can never replicate.
Let's Keep It Simple
I'll Explain Briefly
What are the camera modes
and what they are best suited for.
Manual Mode
Full control over aperture, shutter speed and ISO.
Program Mode
Camera sets everything for a balanced exposure.
Shutter Priority
You set the shutter speed, camera handles the rest.
Aperture Priority
You set the aperture, camera handles the rest.
Auto Mode
Camera does everything automatically.
M MODE
M MODE (MANUAL) GIVES YOU FULL CONTROL OVER SHUTTER SPEED, APERTURE AND ISO.
You decide how the light is captured — for consistent results and total creative freedom.
Best Suited For
Landscapes
Perfect exposure for every light situation. Capture stunning detail and dynamic range.
Portraits
Full control over depth of field and light. Create images with exactly the look you want.
Low Light & Night
Adjust settings precisely to the conditions. Get clean, sharp results even in challenging light.
Studio & Controlled
Ideal for studio work, product photography and any situation where consistency is key.
M MODE IS FOR PHOTOGRAPHERS WHO WANT TOTAL CONTROL AND ENDLESS POSSIBILITIES.
P MODE
P MODE (PROGRAM) SETS THE APERTURE AND SHUTTER SPEED AUTOMATICALLY — FOR A PERFECTLY BALANCED EXPOSURE.
The camera chooses the best settings for you, so you can focus on composition and the moment.
Best Suited For
Everyday Photography
Ideal for quick and spontaneous shots in any situation.
Events & Travel
Perfect for capturing special moments without worrying about settings.
Well-Lit Situations
Great results in good lighting conditions with balanced exposure.
Beginners & Casual
Easy to use while still delivering high-quality images.
P MODE IS PERFECT WHEN YOU WANT GREAT RESULTS — FAST, EASY AND RELIABLE.
S MODE
S MODE (SHUTTER PRIORITY) LETS YOU SET THE SHUTTER SPEED — THE CAMERA ADJUSTS THE APERTURE FOR YOU.
Take control of motion while the camera handles the aperture for a perfectly balanced exposure.
Best Suited For
Action & Sports
Freeze fast action or capture the perfect moment with precision.
Water & Motion
Create smooth, silky water effects by using slower shutter speeds.
Panning Shots
Follow moving subjects and create dynamic motion blur in the background.
Bright Light
Use fast shutter speeds to avoid overexposure in bright conditions.
S MODE IS PERFECT WHEN YOU WANT TO CONTROL MOTION AND LET THE CAMERA HANDLE THE REST.
A MODE
A MODE (APERTURE PRIORITY) LETS YOU SET THE APERTURE — THE CAMERA ADJUSTS THE SHUTTER SPEED.
Control the depth of field while the camera takes care of the right shutter speed for a perfect exposure.
Best Suited For
Portraits
Create beautiful background blur (bokeh) and make your subject stand out.
Landscapes
Use smaller apertures for greater depth of field and everything in focus.
Street & Travel
Quick and flexible control over depth of field in changing environments.
Product Photography
Control focus and background to create clean, professional product shots.
A MODE IS PERFECT WHEN YOU WANT TO CONTROL DEPTH OF FIELD AND LET THE CAMERA HANDLE THE SHUTTER SPEED.
AUTO MODE
LET THE CAMERA DO THE WORK — YOU FOCUS ON THE SHOT.
Auto Mode automatically adjusts all settings for a well-balanced exposure in any situation.
Best Suited For
Beginners
Easy to use and perfect for learning the basics without worrying about settings.
Everyday Shoots
Ideal for casual photos, family moments and spontaneous situations.
Good Light Conditions
Works great in well-lit environments for sharp, clear and vibrant images.
Fast & Convenient
Quick and reliable — perfect when you need results without adjusting settings.
AUTO MODE IS PERFECT WHEN YOU WANT GREAT RESULTS — FAST, EASY AND HASSLE-FREE.
Better Understanding. Better Photos.